I’m reprinting this in case you need an indoor activity with your kids in the middle of July! This post is part of a series of easy, frugal, green crafts for kids. Other projects in this series: fancy paper snowflakes, glitter playdough, and art with lentils, peas and other such dried foods.
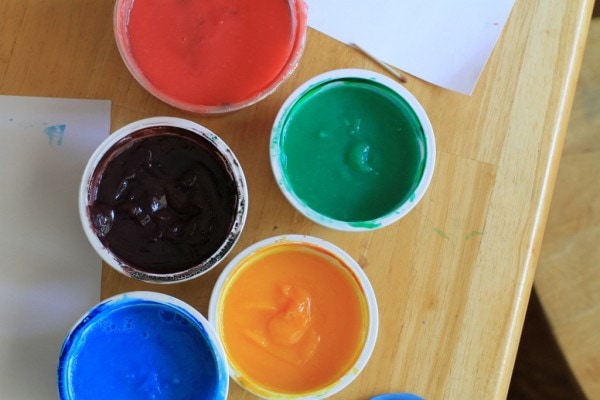
I printed this paint recipe online months ago, but I cannot for the life of me find the original site (if you know, please let me share in the comments so I can give proper attribution).
It requires only a few very basic ingredients, so a batch costs mere pennies.
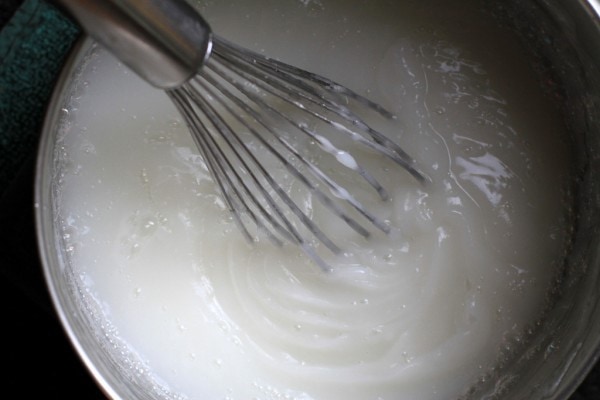
To start, whisk water, cornstarch, and sugar together in a saucepan.
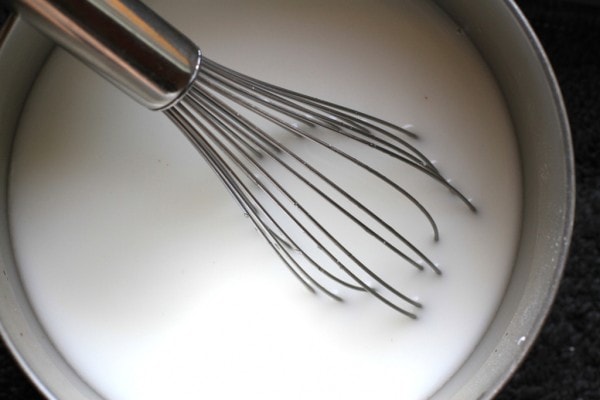
Over medium heat, cook and stir until thickened and bubbly, about 10 minutes. The recipe said this should be stirred constantly, but since I like to live life on the edge (remember the last wild and crazy thing I did??), I whisked my paint only occasionally.
And it was ok.
You just don’t want to let it go too long without stirring because the cornstarch will turn into a gelatinous lump that’s hard to, um, de-lump.
Here’s what it should look like when it’s all thickened.
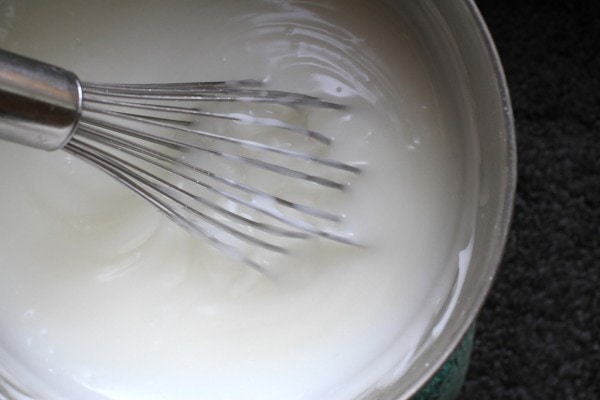
Next, stir in 1/2 cup of clear dish soap. I used this:
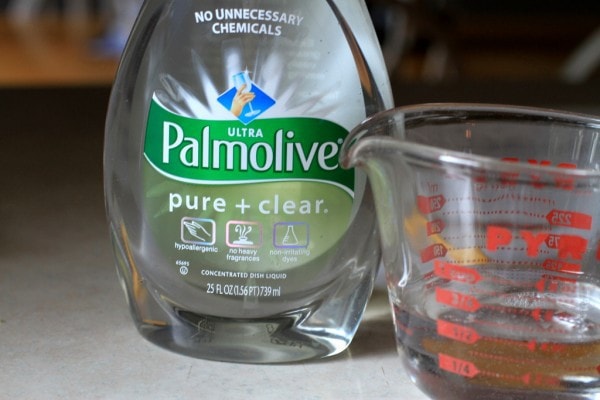
But I’d sorta recommend a non-scented soap if you can find it, because our paint was quite odoriferous.
(I know. The bottle says, “no heavy fragrances” but I beg to differ.)
The paint got kind of sudsy at this point, but by the time we used it, the suds weren’t an issue.
Why do we add dish soap to finger paint?
I have no idea.
But the recipe said to add it, so add it I did.
I’m a recipe-follower.
Except when the recipe says to stir something for 10 minutes straight. Then I get all rebellious-like.
Where were we?
Oh. You need to let the paint cool for at least 30 minutes.
Then you get to the fun part…adding food coloring.
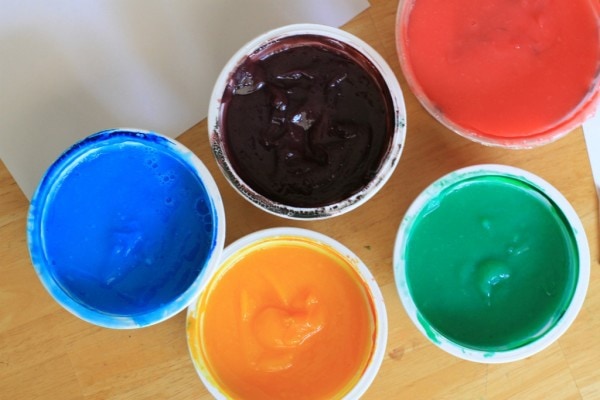
The paint doesn’t seem to need nearly as much food coloring as frosting does. But I’m used to coloring frosting, and that’s why our purple paint is realllllly dark (it did look more purple than black in real life, though.)
Since finger paint is pretty wet, we used some heavy-duty paper (this is some old matte photo paper that Mr. FG brought home when he used to work in a warehouse.)
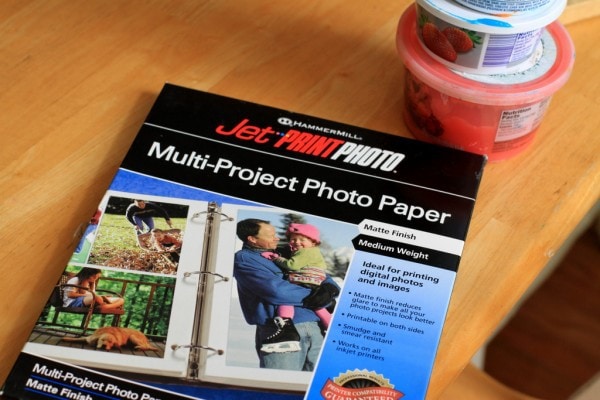
I seem to remember using some kind of glossy paper when I was a kid, but this worked fine.

Doesn’t the orange look like baby food?
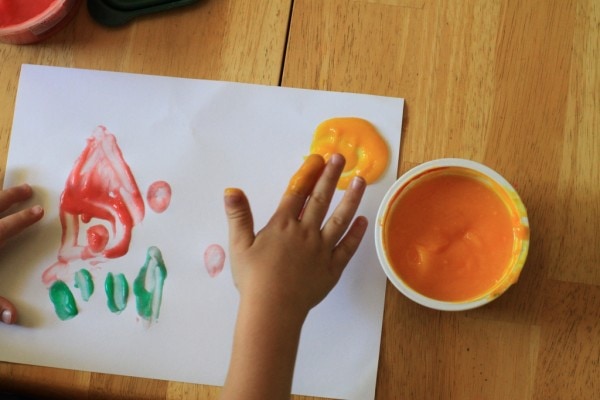
Lisey and Sonia started by making a yellow sun towards the corner of their papers, and that reminded me of Georgia O’Keefe’s Evening Star painting.
So I pulled it up on the laptop and several of the kids made fingerpaint renditions of it.
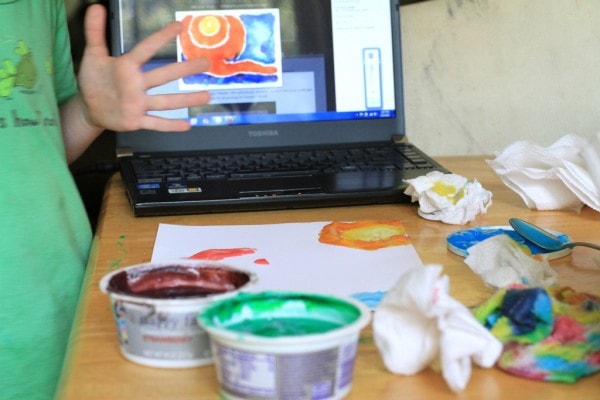
It’s a little harder to do with fingerpaint than with watercolors.
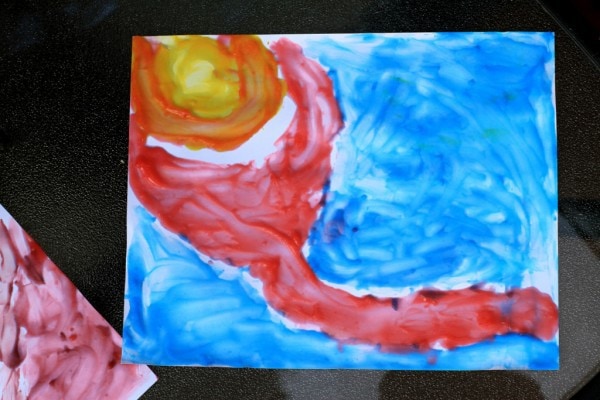
They had so much fun with the Evening Star, they wanted to copy another Georgia O’Keefe piece, so we poked around and found that we had the right colors for her Sunrise painting.
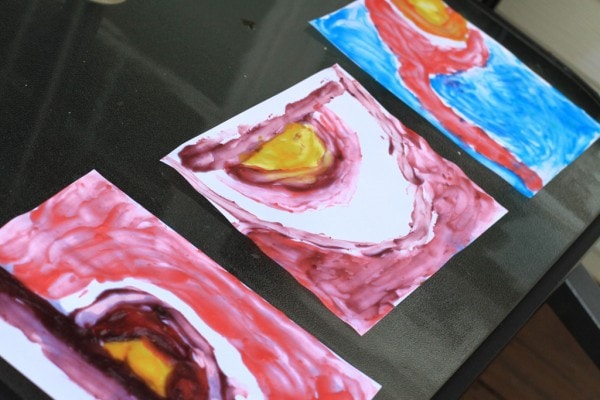
We put our paintings outside to dry in the sun.
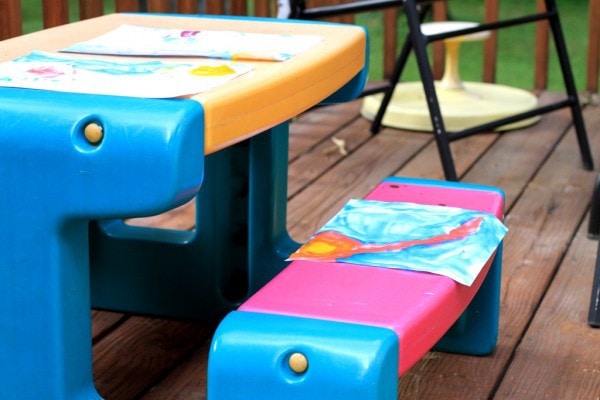
The paint took on a crackly look as it dried, which is actually sort of neat. I don’t know if all finger paints do that because it’s been a really long time since I used any.
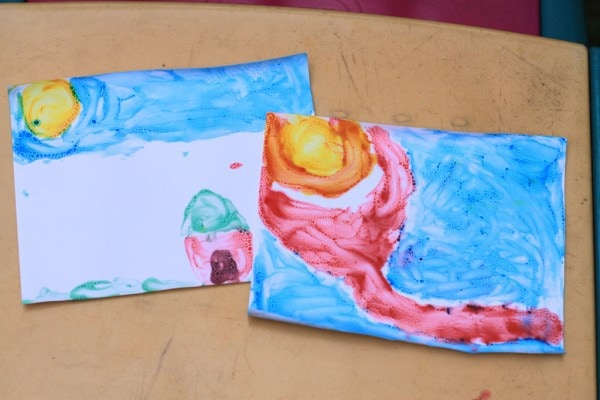
My girls thought this was super-duper fun, and the mess really wasn’t that bad. The paint is totally water-soluble, so it wipes right up.
So, I’d give this a high rating…it was easy, cheap, my kids really liked it, and it produced a craft that can be recycled or composted (plus the paint containers were re-used cream cheese containers, and we can use them again for our next batch).
Homemade Finger Paint
1 cup cornstarch
4 tablespoons sugar
4 cups cold water
1/2 cup clear liquid dish soap
food coloring
plastic containers with lids
In a saucepan, whisk together the cornstarch, sugar, and cold water. Over medium low heat, cook and stir until thickened and slightly bubbly.
Remove from heat and stir in dish soap.
Let cool 30 minutes.
Divide paint into plastic containers and add food coloring to each container as desired.
________________________________
Do you ever make homemade finger paint? If you have a recipe you love, do share…it would be interesting to try another one next time we make paint.

Kap
Saturday 17th of July 2021
This looks like a good recipe but if you want to go one easier, buy or make vanilla pudding, add food coloring, and paint--done! Feel free to lick your fingers in the end. :)
Kap
Saturday 17th of July 2021
haha, I just realized I made this same comment more or less back in 2012 as well. Guess I'm predictable.
Vanessa
Thursday 25th of April 2013
This recipe is awesome! Thank you so much. I used Kool-Aid and Tang instead of food coloring.
Jennifer Harrod
Wednesday 13th of June 2012
I love this idea! As a school teacher, I could use this activity for my art class and children will definitely gonna enjoy this.
amal
Sunday 10th of June 2012
i love it , its so easy and safe
Travesti
Friday 8th of June 2012
We fabricated fingerpaints if my kids were adolescent and it was fun, but now we accept the Crayola version. Earlier this winter my babe acclimated the absolute basis end of celery in fingerpaints. It makes a abundant "rose" print. Then we composted the celery.