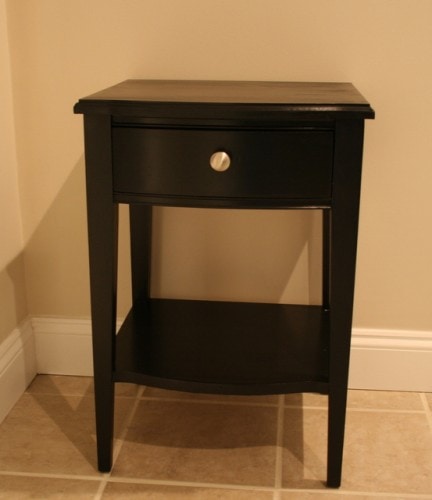
This is actually the piece of furniture that got me started on my painting spree. I picked it up from a freecycler, sight unseen, and was pleasantly surprised to find that it was solid wood (except for the top, which is a sort of formica…or something like that!).
I was unsure of how well it would take paint, but I sanded the whole thing down and gave it a try.
Here’s what it looked like when I got it.

And here it is after some paint, and some hardware modification.

I think this is still my most favorite piece of furniture that I’ve gotten from freecycle…I just love the lines of it. It’s not fancy and overdone, but it’s not plain and boring either.
The only thing is, I wish I had one more like it. If I did, I’d SO be putting them in my bedroom and getting rid of my particle board nightstands!
I would settle for something that was just similar (I think as long as they were both black with silver hardware, it could work), but nothing has come down the Freecycle pike recently. I can be patient, though. 😉
Edit: This is the method I use to paint my furniture.
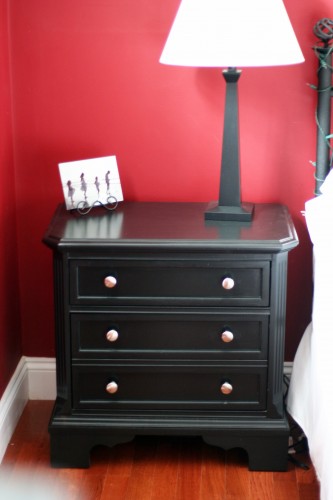
Edit the second: I didn’t find a match to this piece, but I did find a set of nightstands from Goodwill to go in my bedroom.
And I painted them black because of course. 😉

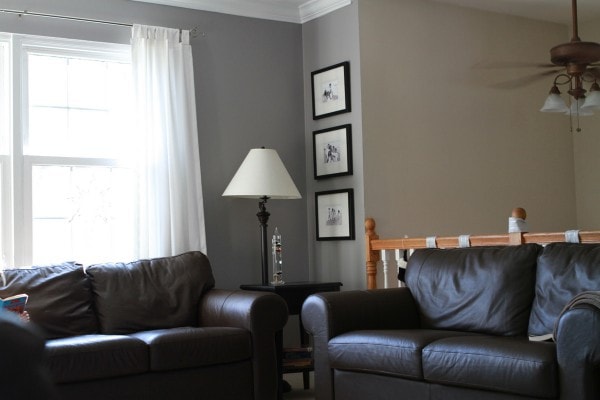
So, this piece now resides in my living room as a side table.

Update, the third: now that I moved out of my marital home and am in a rental home, this little table is in my new living room.


Cheryl
Thursday 10th of May 2018
Hello! Just stumbled across your blog and made my way from screen time to composting to painting furniture... All great info, so first of all, thank you! And now I have a question: Did you sand the formica-like top on this small table? How much? I have something similar (wood legs but formica-like top) that I have been saving to paint, but just wasn't sure how paint would work on the top. Also, what about sanding in any decorative carving areas (the legs of my table have vertical grooves) - do you sand or just clean and use primer there? I would really appreciate any info you can provide. P.S. - your small table looks SO much like some furniture that my Nana had, so that made me smile. :)
Kristen
Thursday 10th of May 2018
Yep, I sure did! I just sanded it enough to take off the sheen, then primed and painted.
With the crevices and decorative stuff, I try to use a piece of sandpaper to get the sheen off, but it's kind of impossible to do very well! I just do the best I can and then prime and paint. Those areas won't get a lot of use and abuse, so they usually hold up ok even without tons of sanding.
Susan Helber
Tuesday 24th of April 2018
Years ago a friend dreamed of a wonderful mudroom for kids. Found 4 mismatched antique chairs, seats same height. Sanded, painted, used .79 cent linen remnant to recover seats. Rain boots go under, old fashioned well stocked wooden shoeshine box underneath also. Vintage wooden rack with pegs and shelf high above repainted holds sweaters, umbrellas etc....it was found at a dump. So...she never got her dream mudroom...this was a cheap quick fix and the kids are grown now!!!! Paint less than $5.00 and cloth .79 cents. Two chairs were $3.00 each, 2 were dumpster finds. Rack was free. Elbow grease: free
Kristen
Tuesday 24th of April 2018
Aww, that's so great!
Tebogo
Wednesday 22nd of January 2014
very beautiful indeed. looks so different from the previous one. keep it up
brad
Wednesday 10th of September 2014
hey - in addition to appreciating your tips -- I just wanted to post on the off-chance that you have not to date found an identical night-stand to your original freecycled one. I have one in storage -- great shape but definitely needing a restoration application. Shout if interested...
Katie
Tuesday 8th of January 2013
Thank you for sharing your experiences !was nervousness before but now can't wait to get started! Thank you :-)
Germil
Sunday 6th of January 2013
You are crazy awesome! Pardon my French. You have showed me exactly what I am looking to do to this dresser drawer I just bought from a moving couple. I can't wait to start. Thank you