(Note: This recipe will be unnecessarily picture-heavy, since I’m dearly in love with my new camera lens. If you read me on dial-up, you might want to stop reading and come back tomorrow.)
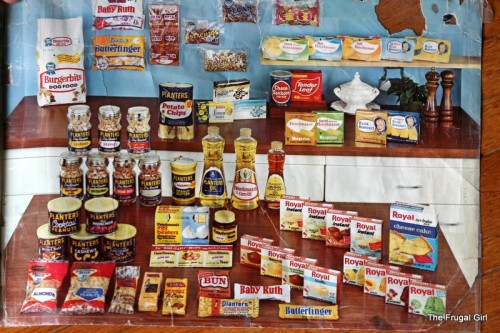
This is a recipe I’ve been making since I was a teenager. It’s from an old Fleischmann’s Yeast cookbook that my mom got before I was born (it’s now on, um, permanent loan to me, I think). There’s no date on it, but judging by this picture of the then-current family of Fleischmann products,
it’s been around for a while.
But, it has some really good recipes in it, one of which I’ll share with you today.
The most delightful thing about this recipe is that everything except the baking can be done the day/night before, which means that you can enjoy fresh, cinnamony goodness for breakfast without having to get up at 4:30.
So, while you might be willing to get up at the crack of dawn to make this for breakfast…
…you don’t have to! Here’s how to avoid baking before the sun comes up.
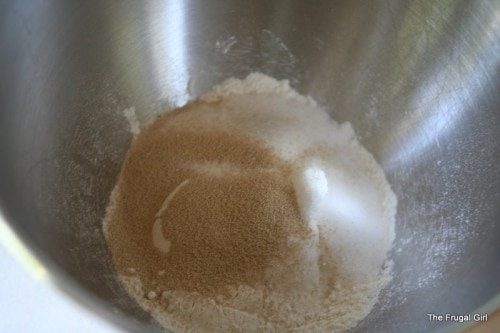
Mix the dry ingredients.
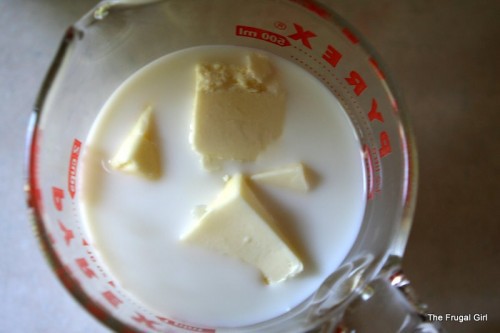
Mix the milk, water, and butter together, and heat to 120-130 degrees Fahrenheit. Obviously, I took this picture before I did any heating.
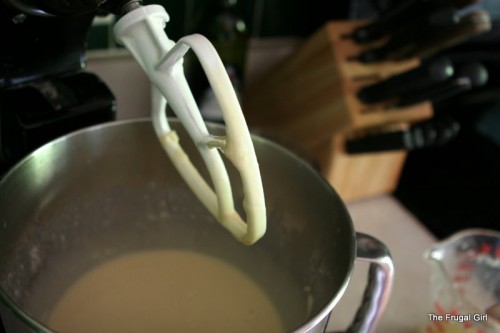
Add to the dry ingredients, and beat for 2 minutes. The dough will be more like batter at this point.
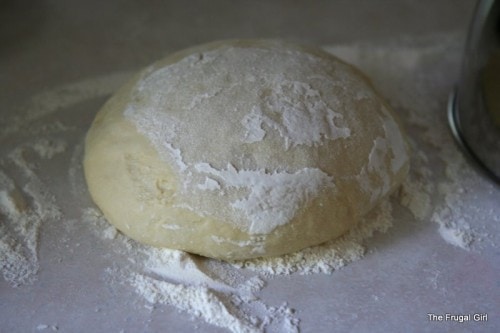
Add eggs and beat for 2 more minutes. Add enough additional flour to make a manageable dough, and turn out onto a floured surface. Knead 5-10 minutes, or until the dough is smooth and elastic.
Cover with a wet tea towel, and let rest 20 minutes. It won’t rise a lot in 20 minutes, but the gluten will relax a bit, which will make it much easier to roll the dough out.
Meanwhile, mix up the cinnamon and sugar, and melt some butter (a couple of tablespoons should be enough.). If you don’t do dairy, you can sub whatever oil you prefer to use.
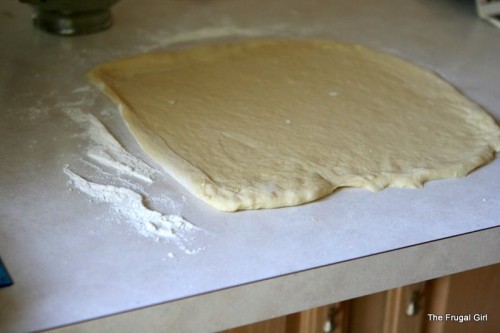
Divide the rested dough in half, and roll each half into a 12 inch square. Brush the entire square with melted butter. You don’t want it to be swimming in butter, but be generous enough for the cinnamon/sugar to stick.
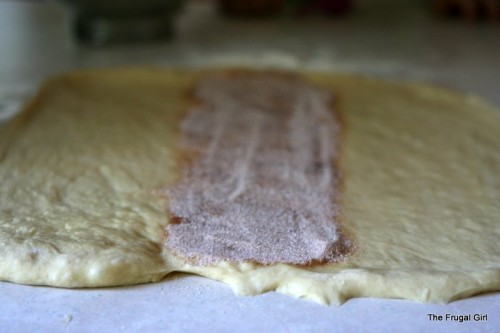
Sprinkle 3 tablespoons of the sugar mixture down the center third of the dough.
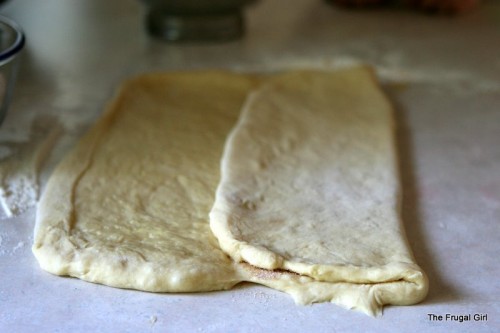
Then fold one third of the dough over the center third.
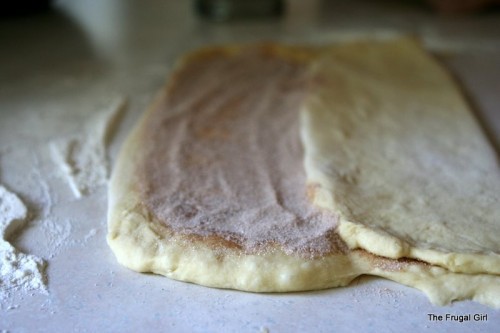
Sprinkle 3 more tablespoons of the sugar mixture over the remaining buttered third of the dough.
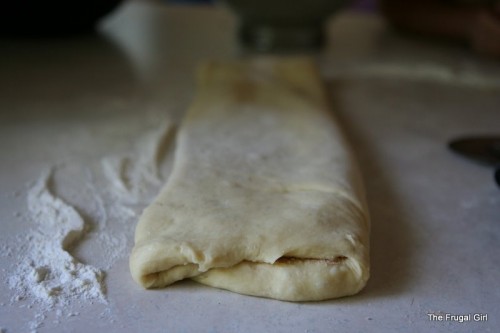
Fold the two thirds of the dough over the sugared third. If you try to fold the sugared third over, you’ll just make a big mess.
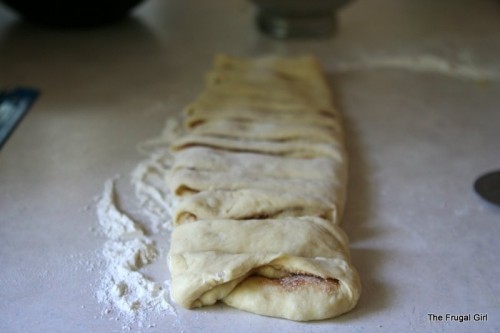
Repeat with the other square, and then cut each buttered and sugared half of the dough into 1 inch strips. I find that a pizza cutter is the best tool to use for this. I actually don’t ever use my pizza cutter for its intended purpose but I do love to have one around for baking.
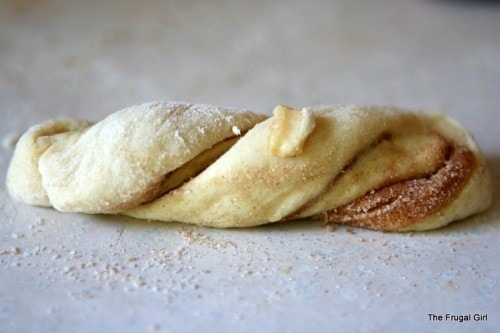
Holding each end of a strip, twist the ends in opposite directions,
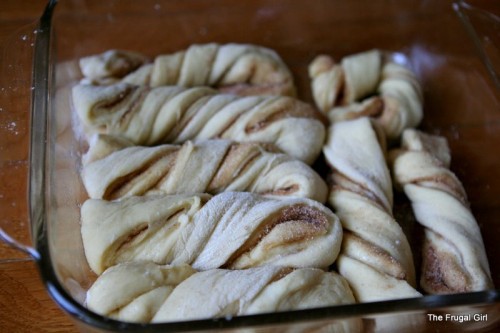
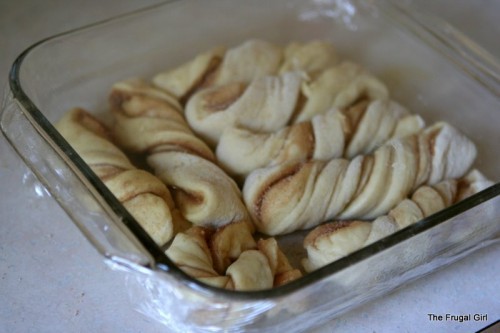
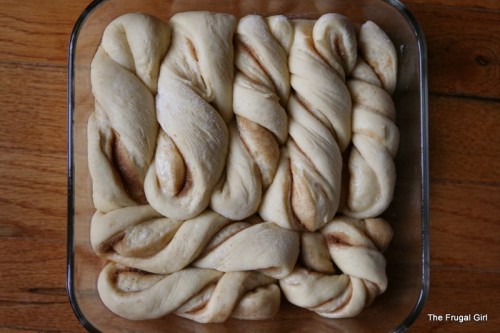
and place in a greased pan.
If you have two 9×9 pans, use those (incidentally, does anyone actually own 9×9 pans? I’ve never seen one in my lifetime!). Since no 9×9 pans reside in my cupboards, I use an 8×8 pan and a 9×13 pan. That’s not quite equivalent to two 9×9 pans, but it works just fine.
Cover the dough with plastic wrap, or, if you have lids for your pans, you can use those instead. My aunt currently has my lidded pan, so I had to use plastic wrap today.
Refrigerate anywhere from 2 to 24 hours. The dough will rise the in the fridge for a couple of hours, but after that the chill will slow the yeast growth down to a crawl, and very little rising will occur after that.
When you’re ready to bake your twists, turn your oven on to 350, remove the twists from the fridge, uncover them, and let them sit at room temperature while the oven heats up (10-20 minutes).
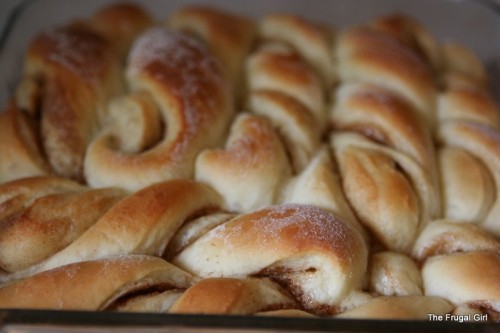
Bake for 20-30 minutes, depending on the size of your pan. An 8×8 pan won’t need to bake quite as long as a 9×13 pan, obviously.
Cool in the pan on a wire rack before eating.
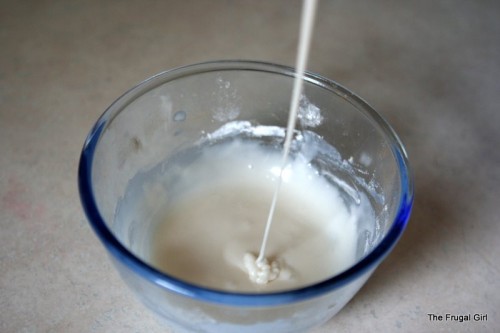
If you’re not satisfied with the level of sugar in this recipe, you can drizzle confectioner’s icing over top. Mixing this up takes all of about 60 seconds.
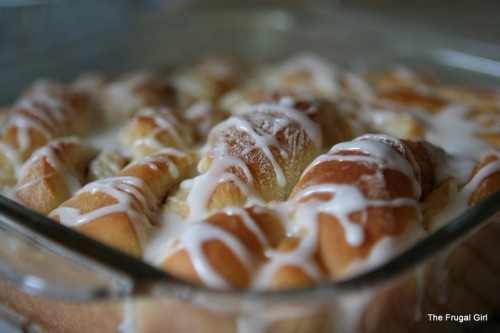
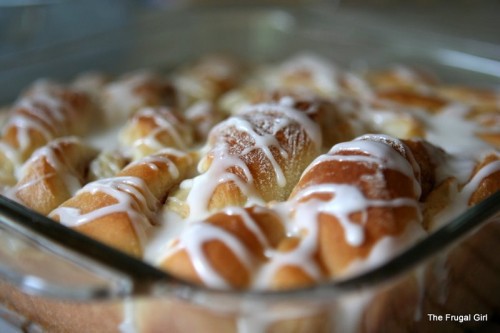
You just combine powdered sugar, a bit of milk and a bit of vanilla. Easy peasy. And then you drizzle it over the top of the warm twists like so.
Could we just pause for a moment and admire this loveliness of this picture, which was, of course, taken with my new lens??
I’m a happy girl.
If you’re done gazing at the picture, read on for the actual recipe.
Overnight Cinnamon Twists
Dough
5-6 cups all-purpose flour
1/2 cup sugar
1 1/2 teaspoons salt
2 pkg. (4 1/2 teaspoons) active dry yeast
1 cup milk
2/3 cup water
1/4 cup butter, cut into smallish chunks (this makes it easier to melt)
2 eggs
3/4 cup raisins (I don’t include these)
Filling
3/4 cup sugar
2 teaspoons cinnamon
Icing (optional)
1 cup powdered sugar
1 tablespoon milk
1/4 teaspoon vanilla
1) In the bowl of a stand mixer, combine 2 cups flour, and the sugar, salt, and yeast.
2) Combine milk, water, and butter, and heat in microwave or in a saucepan until very warm (120-130 degrees F).
3) Gradually add wet ingredients to dry ingredients, and beat two minutes at medium speed. Add eggs, and beat at high speed 2 minutes. Stir in raisins if using, and enough additional flour to make a soft but kneadable dough.
4) Turn out onto a lightly floured surface, and knead until smooth and elastic, 5-10 minutes. Place dough back in bowl, cover with a wet tea towel, and let rest 20 minutes.
5) While the dough is resting, combine 3/4 sugar and 2 teaspoons ground cinnamon, and melt several tablespoons of butter.
6) After 20 minutes, divide dough in half. Roll out each half into a 12 inch square. Brush with melted butter. Sprinkle center third of each square with 3 tablespoons of the sugar mixture. Fold one third over center third. Sprinkle with 3 tablespoons of the sugar mixture. Fold remaining third over the two layers. Using a pizza cutter, cut the dough into strips about 1 inch wide. Take hold of each end of strip and twist tightly in opposite directions. Arrange in two greased 9-inch square pans (or an 8×8 pan and a 9×13 pan like I do!). Cover with plastic wrap and refrigerate 2 to 24 hours.
7) When ready to bake, heat oven to 350, and remove pans from fridge. Uncover dough and let stand at room temperature 10-20 minutes. Bake 20-30 minutes, or until browned. A 9×13 pan will take closer to 30 minutes, and an 8×8 or 9×9 pan will take closer to 20-25 minutes.
8 ) Cool in pan on wire rack before eating. If desired, combine icing ingredients, and drizzle over top of the twists.


Libby
Tuesday 23rd of March 2021
Yayyyyyyyy soooooo goooooooooood
Val Riddell
Thursday 21st of December 2017
Just wanted to let you know that I used to have that same book, and have somehow lost it..today when I was looking something similar, I was so very happy to see you had posted this! It will make a nice breakfast sweet for Christmas morning - Thanks, and happy holidays = Valerie
paula
Saturday 28th of February 2015
Awesome recipe. Thanks for sharing! I cannot remember how I found your site. What I can say is from the first time I made these to most recent time. Excellent! Never have come out bad! I have made for my family, friends, kids sports teams. I have made the regular glaze and also made a maple glaze. Everyone loves these. The directions and pictures were so very helpful. I am a learn as you go baker with no training but inspiration from my children and husband who like to eat and are great critics. This is a much requested recipe. Especially from my sons hockey team.
Kristen
Saturday 28th of February 2015
Yay! So very pleased to hear your twists are turning out so well.
Isabelle
Monday 23rd of June 2014
Looks yummy! Do you think it wuld work with spelt flour or kamut flour? My husband can`t have wheat... Thanks!
Kristen
Monday 23rd of June 2014
Sadly, no. Baking with non-wheat flours is a whole different science, and they can't be substituted cup for cup. Check out America's Test Kitchen's gluten-free cookbook or try www.glutenfreegirl.com for help in baking without wheat.
Ashley
Tuesday 14th of May 2013
Does it make a huge difference if these are made without a stand mixer?
I dont have on and was wondering what would have to be changed for a hand mixer.
Kristen
Tuesday 14th of May 2013
You can mix up the dough by hand, but you'll want to knead it longer.