Homemade play-dough is a staple in many homes, I know. So, it may shock you to learn that I have never made it for my kids.
Seriously.
In fact, for many years, we didn’t even have any play-dough in our house because I figured the mess would probably make me crazy. But Sonia and Zoe got some cans of Play-Doh as a gift a year or two ago, and since they’re not preschoolers anymore, the mess hasn’t been that bad.
So, for our monthly craft, we decided to make our own play-dough. I’m so glad I committed to doing this and blogging about it, because I know for certain I would not have gotten around to this yesterday otherwise!
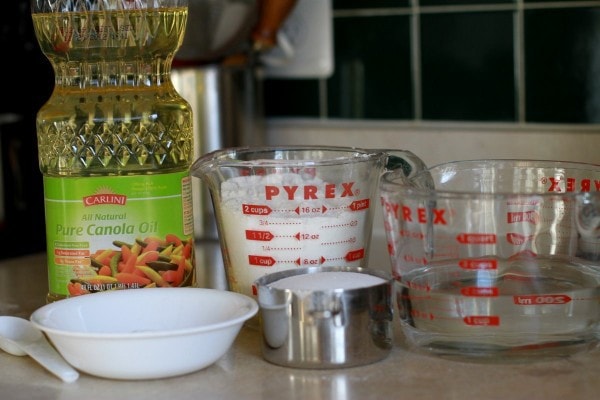
The ingredients for play-dough are very basic…vegetable oil, cream of tartar, salt, flour, and water.
Someone had given me some flour they didn’t want, and since it was out of date by a few years, I didn’t want to use it for baking. But this is a perfect use…no one is eating this, hopefully, so off-tasting flour is no problem.
To make your dough, first combine all the dry ingredients in a saucepan off the heat, then add the liquid ingredients and stir.
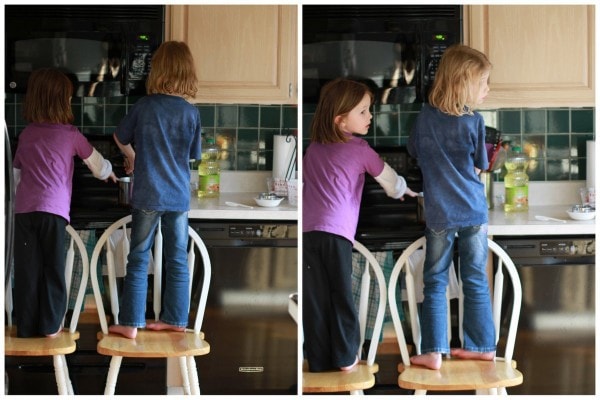
Sonia and Zoe had a great time dumping and mixing. And not very much flour got onto my stove. 😉
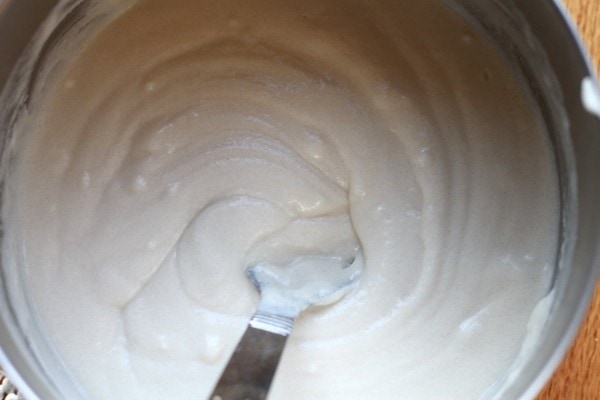
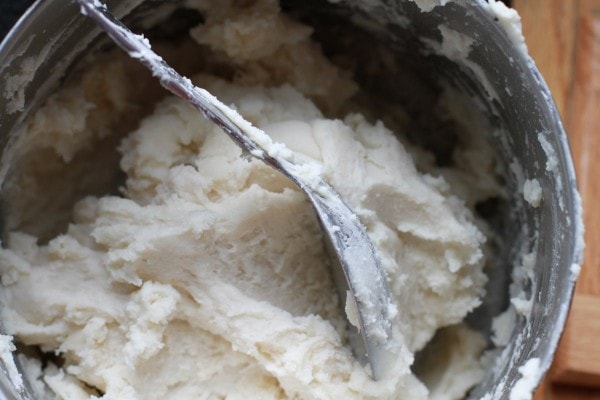
Turn the stove burner on low heat, and cook and stir the dough until it becomes thick and cohesive. It should look like the most awful, gluey mashed potatoes you ever did see.
The recipe I followed said this would take two minutes, but ours took a lot longer than that…maybe more like 10 minutes. Perhaps the other blogger has a gas stove, which would mean her burner would get warm faster than mine.
At any rate, once it’s all gluey and hard to stir, let the dough cool a bit and then dump it out onto your counter. Knead it to make a smooth dough, and then you can add color and glitter if you so desire.
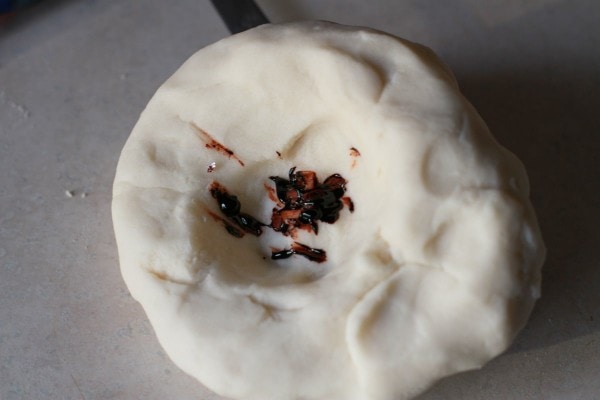
We made a well in the center of our dough, added food coloring, and then kneaded the dough until the color was thoroughly incorporated.
If you have countertops that you adore, you’ll probably want to do this on a mat of some sort. My counters have seen better days, and while that means they’re kind of ugly, one upside is that I don’t have to be super careful with them!
In my blog research for this project, I came across the idea of adding glitter to the dough, which I think is brilliant. It’s probably the least messy use for glitter I’ve ever seen, actually.
(speaking of that, remember this dumb marketing idea for glitter??)
To make the dough glittery, just knead glitter in using the same method you used for the food coloring. Easy peasy.
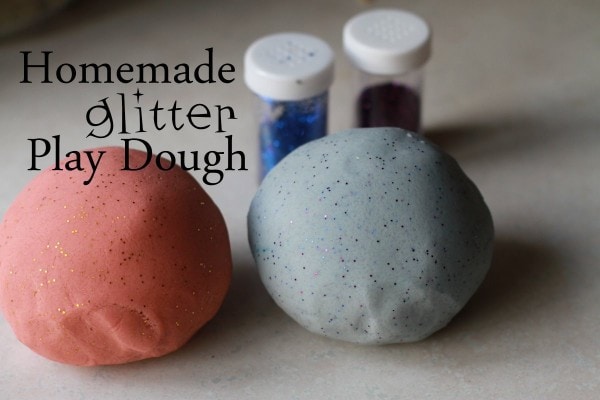
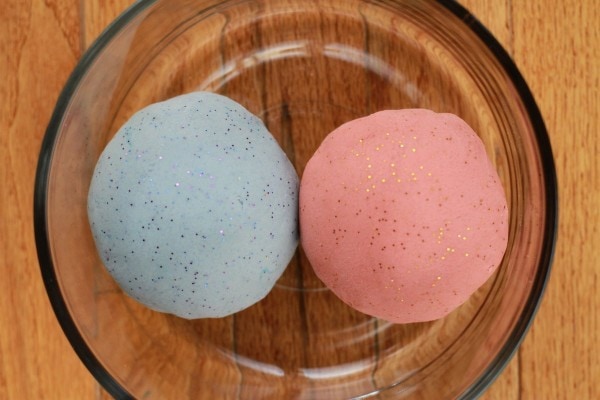
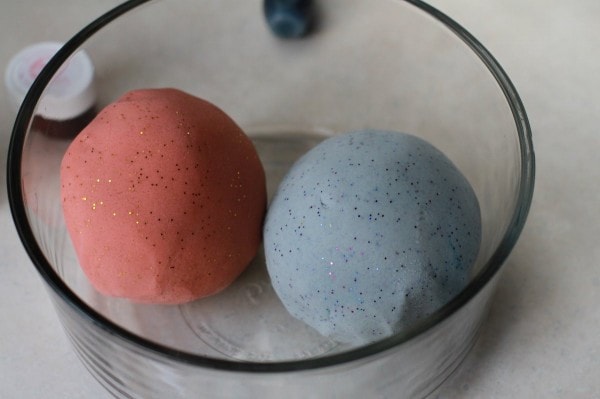
For her dough ball, Sonia chose pink with gold glitter, and Zoe picked blue with blue and purple glitter.
They’re very pleased with their new play-dough, partly because they made and designed it themselves, and partly because of the sheer volume the recipe produced. Only about half the dough is pictured below, and those two balls alone are probably the equivalent of 4-6 commercial Play-Doh cans.
Four Play-Doh cans seem to run about $6, and I am positive that our homemade dough cost way less than that and produced about twice as much as four cans would hold.
The water is a penny, maybe, the cream of tartar costs about $0.50, the cup of salt costs about $0.10, and my flour was totally free (even if I did buy flour, 2 cups wouldn’t cost much). The food coloring and glitter are a little difficult to calculate, but the small amount we needed wouldn’t add up to much.
Anyway, making and using the dough was a lot of fun for my girls, and it’s quite a frugal project. I’m excited to try some of the fun variations out there, like gingerbread play-dough and peppermint play-dough.
Homemade Glitter Play-Dough
1 cup salt
2 cups flour
2 tablespoons cream of tartar (I bought mine from a bulk bin at the organic store, but you can buy it at most grocery stores)
2 cups water
2 tablespoons vegetable oil
food coloring
glitter
In a medium saucepan, off the heat, combine the salt, flour, and cream of tartar. Stir in water and vegetable oil.
Heat and stir over low heat until the mixture becomes a cohesive mass, like gluey mashed potatoes. Let cool for a few minutes, then turn out onto a counter and knead until smooth.
Knead in food coloring and glitter as desired. Store in an airtight container or plastic bag.
_________________________
Today’s 365 post: This might be the most random collection yet.
Joshua’s 365 post: Little Guy World Expansion

Amanda
Thursday 1st of March 2012
I love homemade play dough. My mom called this "salt dough" when we were little. She'd dye it in vibrant colors. :)
Whenever I have little kids around that need entertaining, I whip up a batch of peanut butter play dough. It provides hours of entertainment and a snack at the same time. :)
Lori
Thursday 1st of March 2012
Does the glitter stay pretty well-stuck to the dough, or have you been finding it all over the house? Because Tess would LOVE this, but I'm not sure I want to be finding glitter in everything for the next six months, which seems to happen whenever I use glitter.
Kristen
Friday 2nd of March 2012
The glitter does indeed stay stuck to the dough. It's seriously the least messy way we've ever used glitter.
Joyce
Thursday 1st of March 2012
I also never had play dough in my house because of the mess--until we received it as a gift. It wasn't as bad as I thought it would be so we began making our own too. The glitter is a great idea!
Barb
Thursday 1st of March 2012
I remember when my kids were little, I used baby oil instead of cooking oil. Loved the smell. I think I had as much fun as they did with the play dough. I love the glitter idea. Wonder if the grandkids would enjoy this next time they visit.
Linda
Wednesday 29th of February 2012
FG I think you have a broken link. Clicking on (speaking of that, remember this dumb marketing idea for glitter???) Takes me to Delayed Gratification Or am I just not getting the connection?
Kristen
Wednesday 29th of February 2012
Oh! I accidentally linked to the search category instead of the specific post. It's fixed now. :)