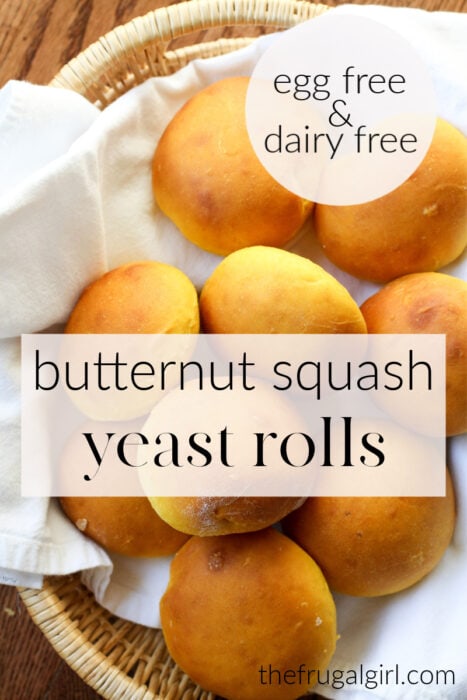
I got this recipe from one of my aunts back when I was a teenager, and for whatever reason, I haven’t made them much of late.
Anyway, Lisey randomly remembered liking them and she said something about it the other week.
Since I had some frozen squash (and more importantly, since I love Lisey!), I made a batch for her.
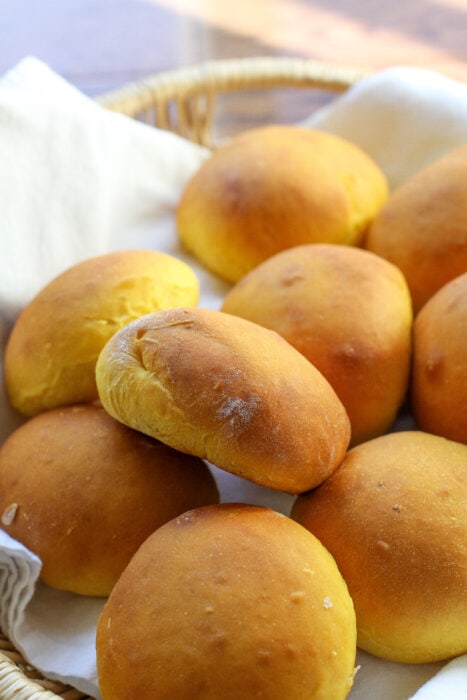
She was massively gratified, and that is what makes Lisey a fun person to feed.
After those rolls showed up on our menu plan, some of you asked for the recipe link.
I thought I hadn’t posted this recipe, but as I was writing the post, I saw that I did, in fact, post a version back in 2011.
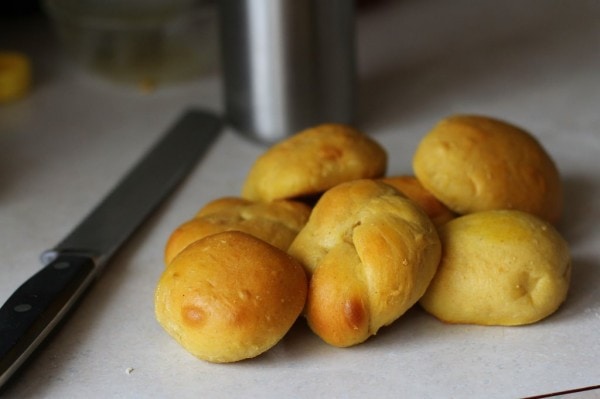
But the pictures were pretty bad.
Exhibit A:
And I’ve modified the recipe a bit since then too.
So.
I made a batch just for you guys to allow me to write an updated version with better photos, and a printable recipe card.
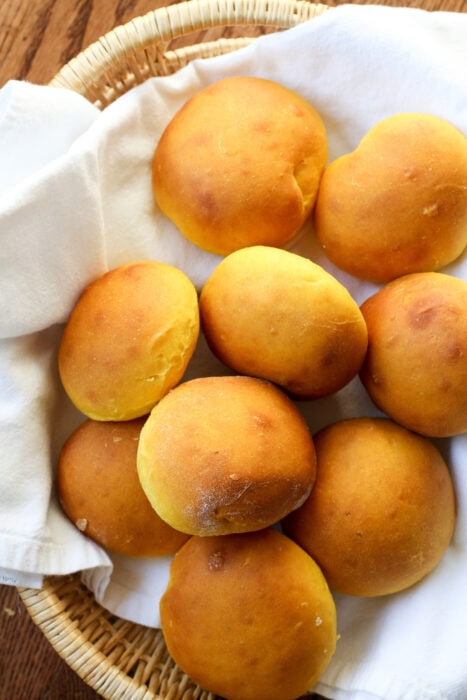
These are not super heavy on the squash flavor, which means that if your family members loathe squash like my girls do, they probably will still like these rolls.
They’re sweet, soft, and mild, and they have a fun yellow color because of the squash.
If you don’t have cooked squash sitting around, I think you could substitute pumpkin with similar results.
I like to freeze cooked squash in 1 cup portions by measuring the squash into 1 cup mounds on a baking sheet, freezing until hard, and then storing in a plastic freezer bag.
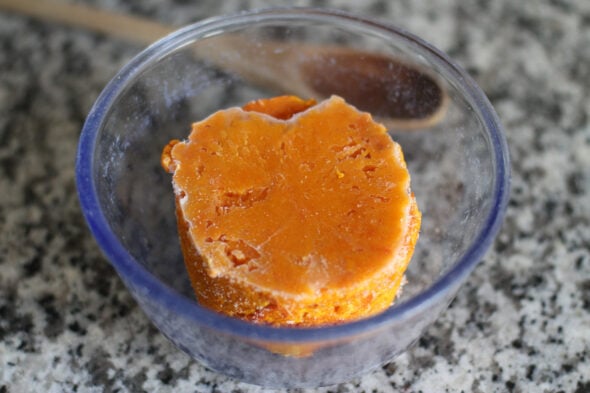
That way they’re easy to take out for a recipe.
A few allergy notes
The original recipe called for milk, but because of Sonia’s dairy issues, I have been using unsweetened coconut milk (the kind in the refrigerated carton) for yeast baking, and it’s going great.
The result is pretty much indistinguishable taste-wise, and the coconut milk is providing the same soft texture that dairy milk does.
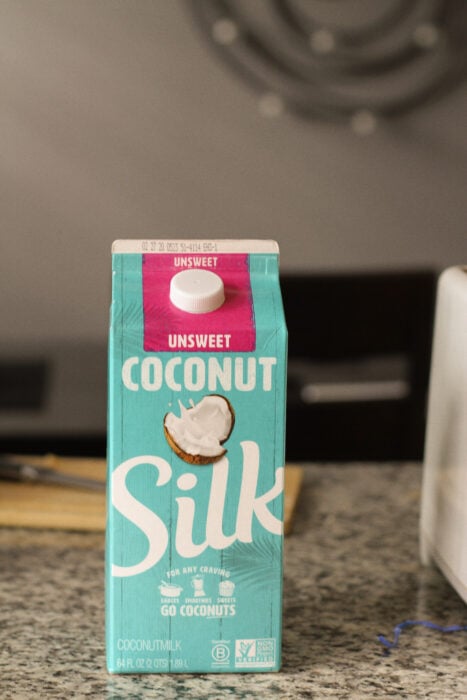
I have no idea how almond, rice, soy, or oat milk would work, but I can vouch for the coconut milk at least.
Sonia can have butter, so that’s what I use in this recipe.
But if you need to make these truly dairy-free, just use oil or a non-dairy butter replacement instead.
About the gluten: people always ask if they can make my yeast bread recipes with gluten-free flour, and my usual answer is no.
Gluten-free yeast baking is a whole different animal, and it’s better to use a recipe that is specifically developed for gluten-free flour.
Step by step directions
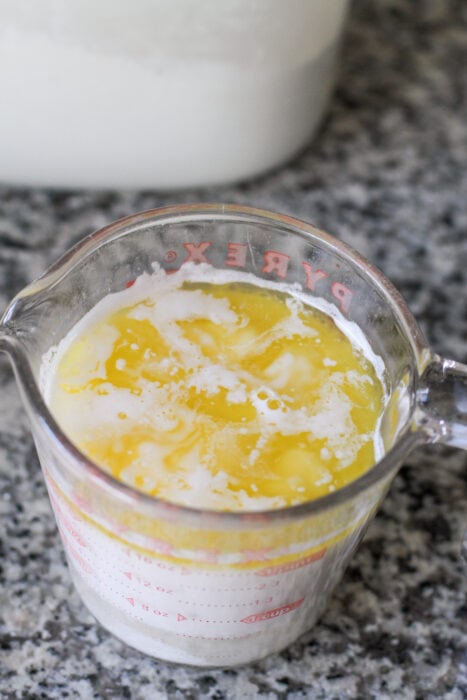
First up, heat the milk with the salt, butter, and sugar. You’re aiming for 120° F, and the microwave works great.
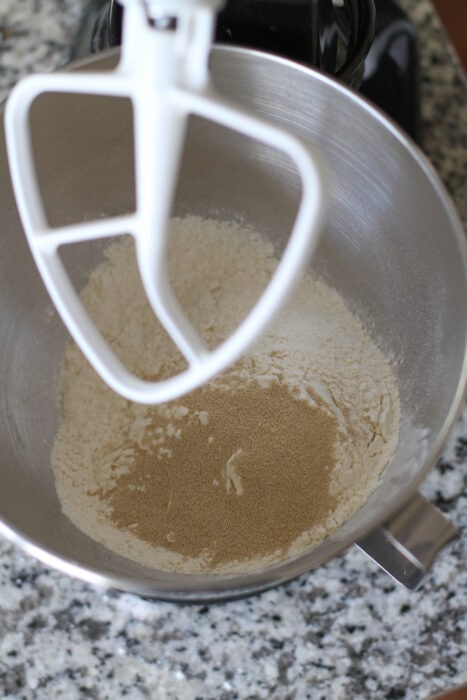
Combine 2 cups of flour with the yeast and mix it together.
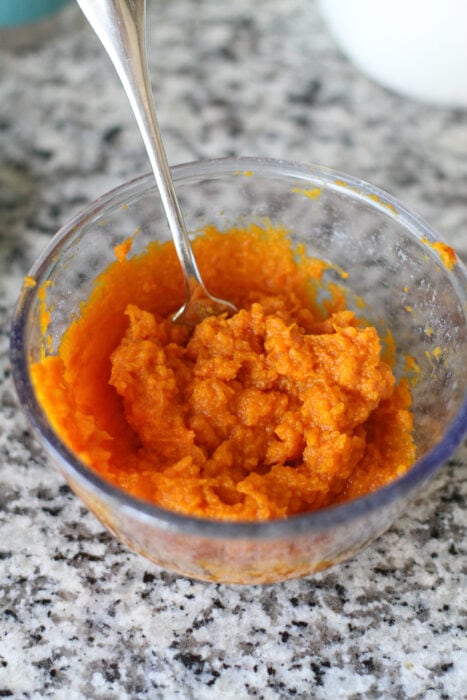
With the mixer running, add the warm milk mixture to the flour. Once that’s mixed in, add the squash.
Beat it for 2 minutes on medium speed.
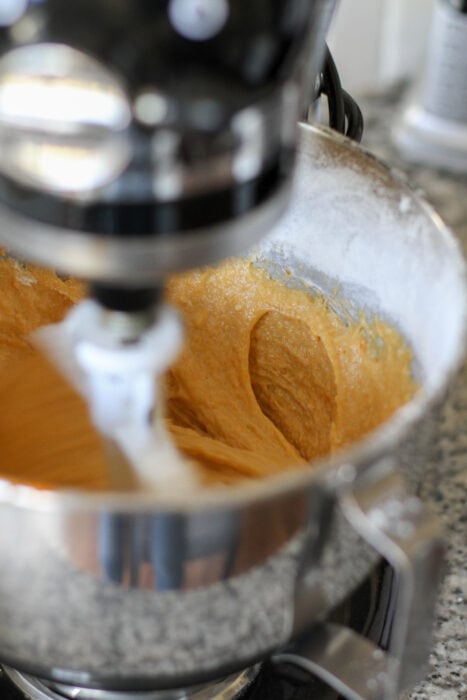
On low speed, mix in enough of the remaining flour to make a soft dough.
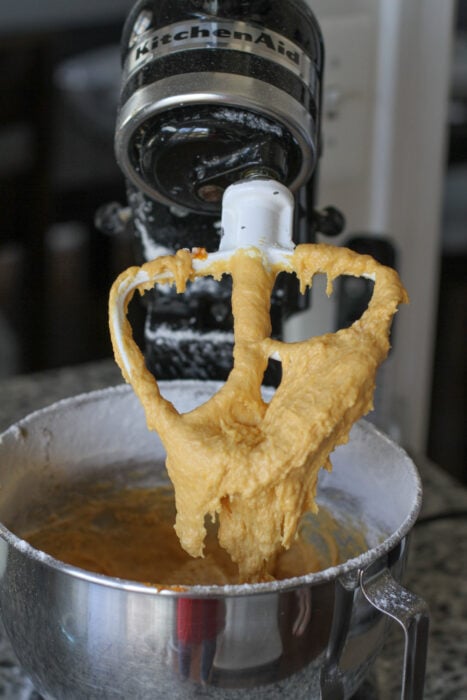
Turn the dough out onto a lightly floured counter and knead for 3-5 minutes, or until the dough is smooth and elastic.
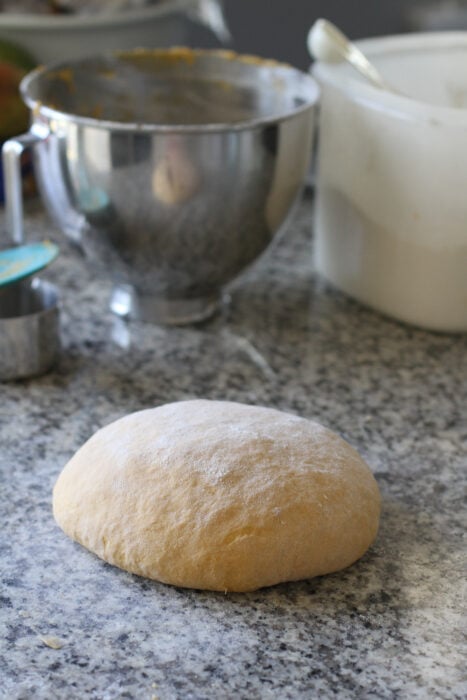
Place the dough in the mixer bowl, cover with a damp tea towel, and let it rise for an hour, or until it’s doubled.
How long this takes all depends on how warm your house is. January = different rise time than July.
Unrisen:
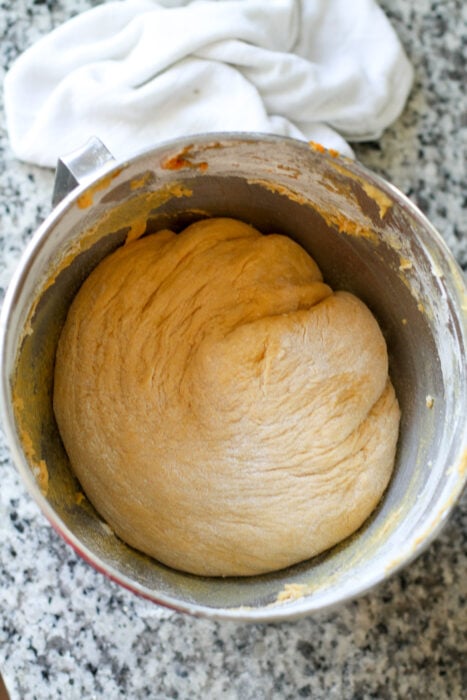
Doubled:
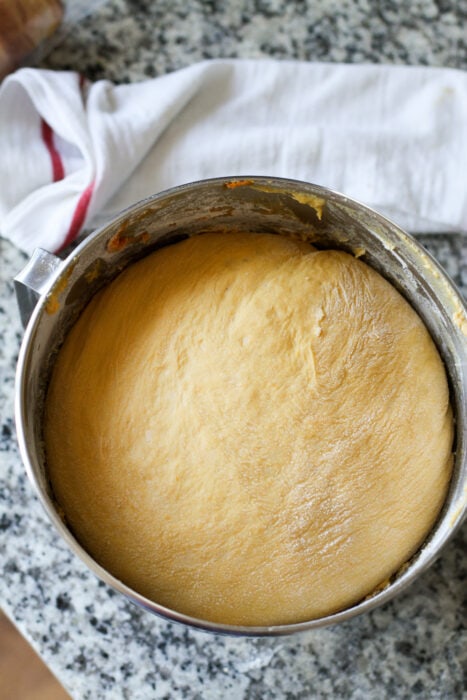
Turn the dough out onto a lightly floured counter again, and divide it into 24 pieces.
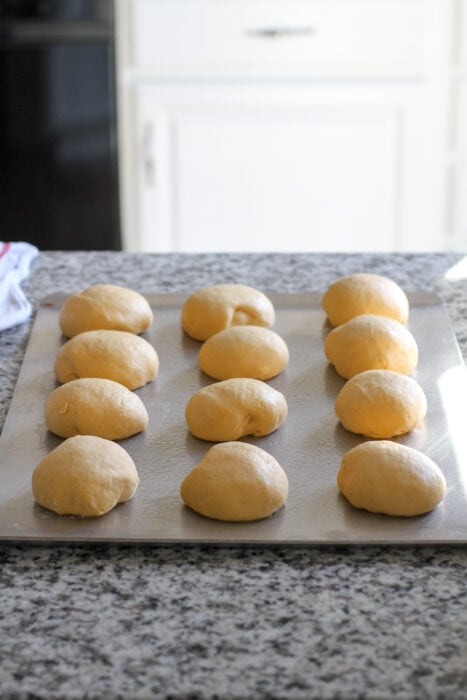
Form each into a tight ball, and place the balls on greased baking sheets, 12 to a sheet.
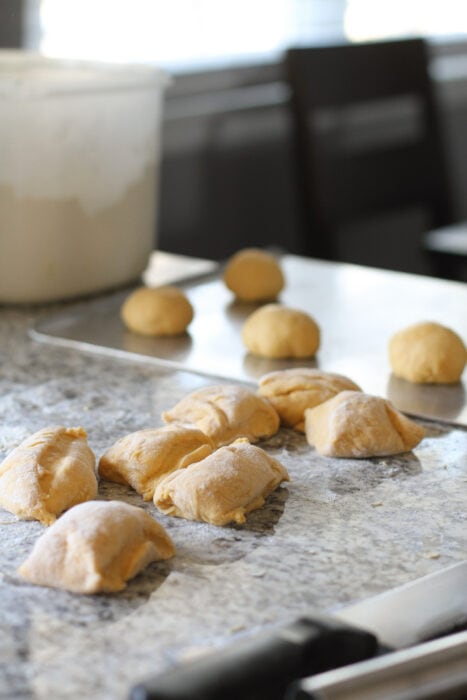
Then you’ll let them rise again, loosely covered with a tea towel. It’ll take about a half hour this time.
Before rising:
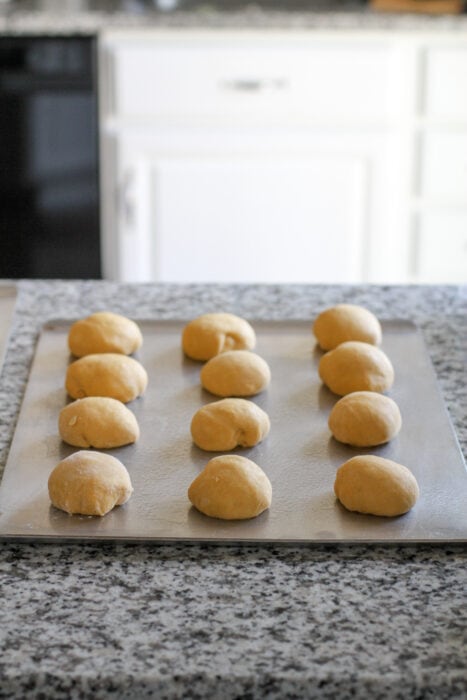
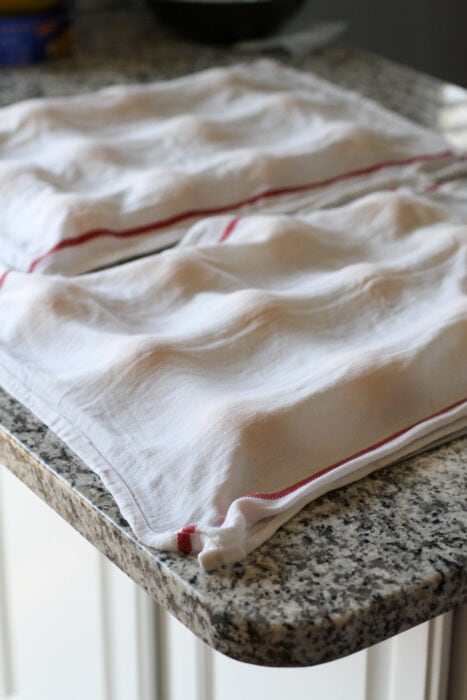
After rising:
You will need to preheat your oven to 350°F.
If you don’t preheat it, your rolls won’t be as light and fluffy, and they won’t brown well. Take the time to preheat!
Once your oven is hot, bake the rolls for 12-15 minutes, or until they are nicely browned.
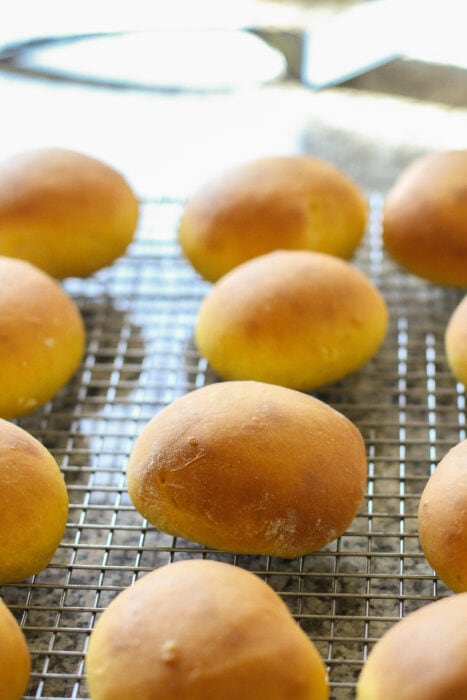
Let them cool on a wire rack before storing them in an airtight container or plastic bag.
You should eat at least one while they’re still warm, though.
Because nothing is quite like bread hot from the oven.
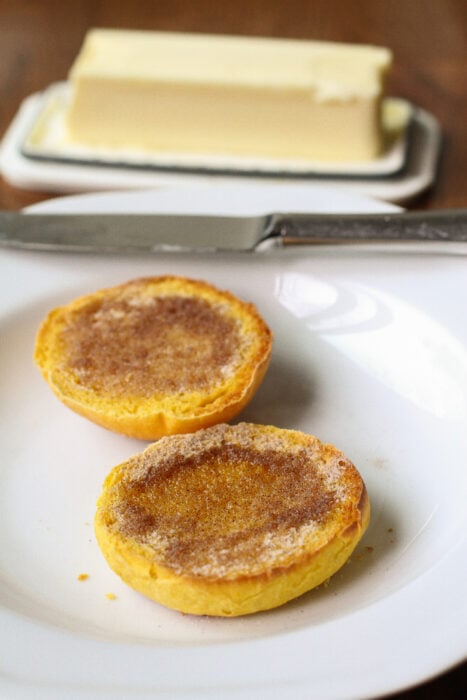
My girls like to toast these and top them with butter and cinnamon sugar, and I think you should try at least one that way.
In case you can’t eat 24 rolls in a few days, you should know that these freeze nicely; just put them in a zipper plastic bag once they’re completely cool.
One last thing: you can put 12 rolls into a round cake pan and bake them that way; I think they look beautiful, but my girls prefer the free-standing rolls.
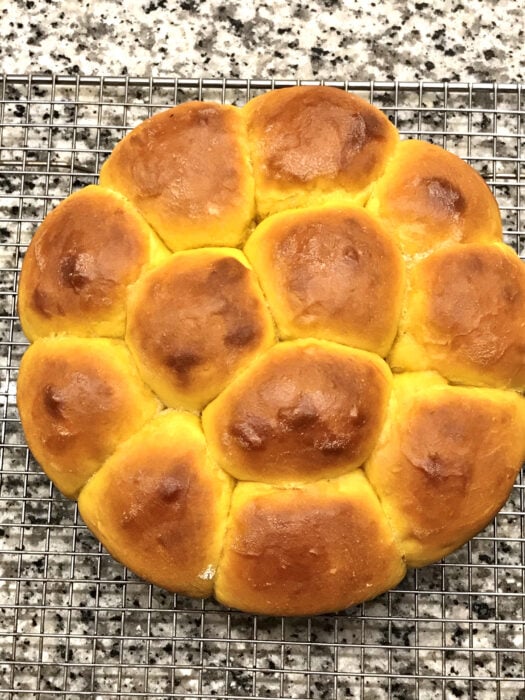
apologies for the low-quality phone photo!
Alrighty. Here’s the printable for you.
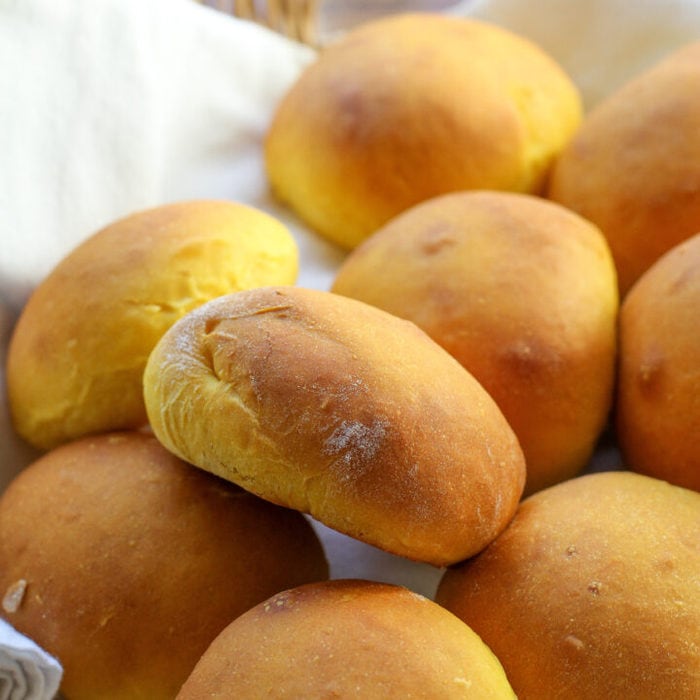
Butternut Squash Yeast Rolls
These rolls are a fun change of pace, and they can easily be made dairy free!
Ingredients
- 1 1/2 cups milk (or non dairy milk)
- 3/4 cup sugar (less if you prefer)
- 4 tablespoons butter (or oil)
- 2 teaspoons salt
- 1 cup cooked, mashed butternut squash
- 4 1/2 teaspoons active dry yeast
- 6-6 1/2 cups all purpose flour
Instructions
1. Combine milk, sugar, butter, and salt, and heat to 120° F (a microwave works great.)
2. In the bowl of a stand mixer, combine 2 cups of flour with the yeast; stir to combine.
3. With mixer running, add warm milk mixture to the flour mixture. Mix until combined; add squash and mix until combined.
4. Beat dough on medium speed for 2 minutes. On low speed, stir in enough of the remaining flour to make a soft dough.
5. On a floured counter, turn dough out and knead for 5 minutes, adding flour as necessary, until dough is smooth and elastic.
6. Place dough in mixing bowl, cover with a wet tea towel, and let rise in a warm place for an hour, or until doubled.
7. Turn risen dough out onto a floured counter; divide into 24 pieces. Form each piece into a round ball; place 12 on each of two greased cookie sheets.
8. Cover loosely with a damp tea towel; let rise for 30 minutes or until doubled.
9. Preheat oven to 350° F. Bake pans, one at a time, for 15 minutes, or until rolls are nicely browned. Cool rolls on a wire rack.
Notes
To freeze the rolls, let them cool to room temperature and freeze them in a plastic zipper bag.
Recommended Products
As an Amazon Associate and member of other affiliate programs, I earn from qualifying purchases.

Nina
Sunday 11th of December 2022
Just made these and my family is devouring them, including my picky 5 year old!
Lisa
Wednesday 26th of February 2020
Thank you for sharing this recipe! I used a smidge less sugar, and substituted some whole wheat pastry flour (amounting to 1/3 of the flour). They were a real hit and I will definitely make them again. Thanks!
Lindsey
Tuesday 11th of February 2020
I use pumpkin for these (I must have read the original recipe a long time ago, as I have been making them for years). I grow dozens of them and when I want to make something with them I cut them in half, take out seeds and guts, pierce the flesh in a few places and bake cut side down on a cookie sheet. They are done when a fork easily slides into the flesh. Then I dig out the insides and give them a whirl with an immersion blender. I put them in the freezer in one and a half cup portions. When I go to use them, I let them drain as they are thawing and I usually end up with a cup of firm pulp.
Becky
Tuesday 11th of February 2020
Do you ever use the kneading attachment on your kitchen aid? I don't see it in your recipes and I'm wondering if it's an adequate alternative to kneading by hand. I'm not as much lazy (at least in this instance) as curious.
WilliamB
Tuesday 11th of February 2020
The BBC had an article yesterday about the various non-dairy milks - pros, cons, nutrition, environmental impact. Here's the link: https://www.bbc.com/future/article/20200207-which-milk-alternative-should-we-be-drinking