As I was thinking of fun activities you could do at home with just a few supplies, I remembered this craft post, so I’m bumping it up to the top of the pile today.
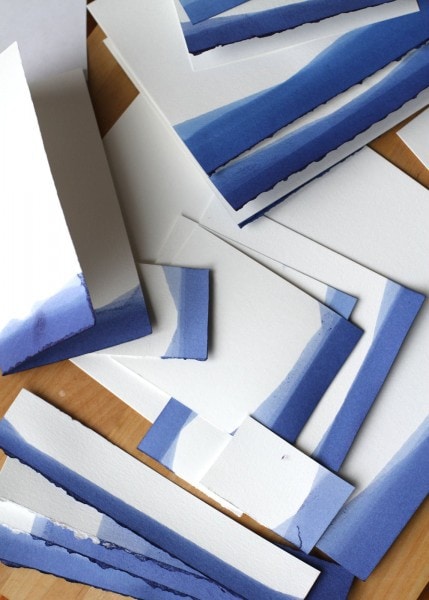
If you are looking for an easy, no-prior-experience-necessary paper craft, I have just the thing for you!
And as a further bonus, this project requires only two supplies:
I originally found this idea on a now-defunct Yahoo DIY page, and the tutorial piqued my interest because my girls are way into sending letters these days (and their envelopes are always closed with sealing wax. 😉 )
Plus, I always love to find alternatives to the very expensive greeting cards you find at the store.
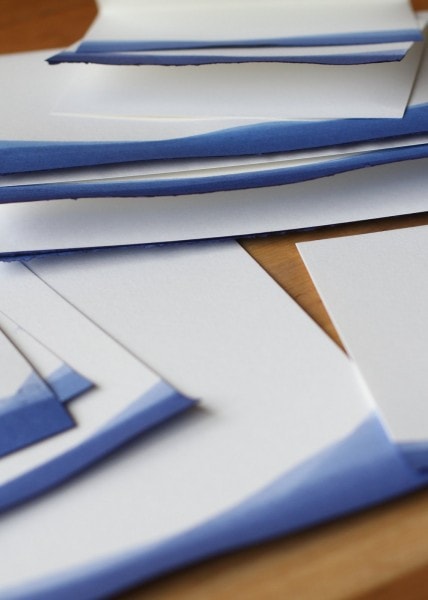
This stationery is really beautiful and it looks so professional.
Which is how I like DIY to be…when it doesn’t look DIYed, I’m a happy girl.
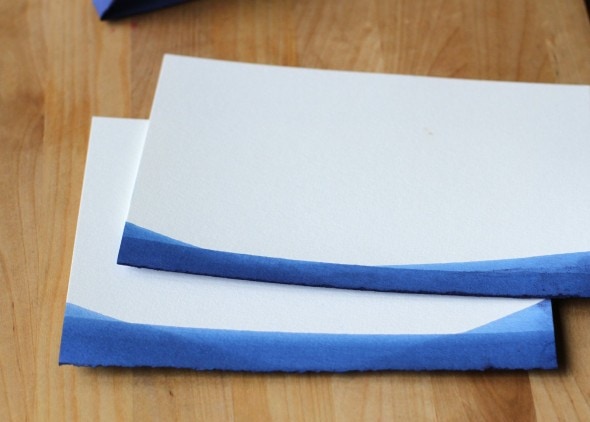
You all already know that I occasionally love to dye cloth, but I’ve never used fabric dye for anything except fabric.
So, I went out to a craft store and picked up a package of watercolor paper and a box of powdered Rit dye in royal blue.
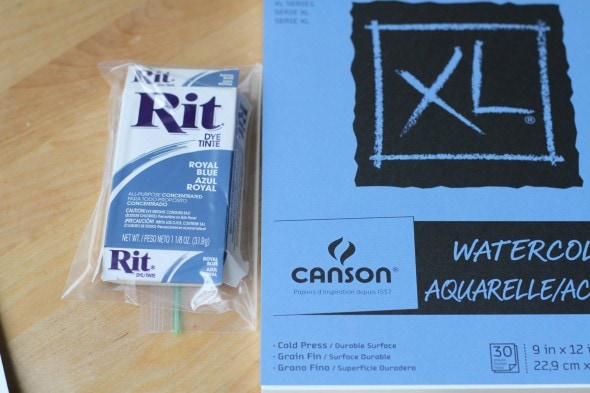
(The color possibilities are nearly endless, but I thought the blue from the original tutorial was beautiful, and I have a soft spot for blue anyway. So, blue it was.)
The original tutorial didn’t give specific directions for a water to dye ratio, but I combined half a packet of dye with 2 cups of boiling water and that seemed to work perfectly.
You’ll want to use a plastic container that’s wide enough for your watercolor paper, but also one that you don’t really care about because it’s gonna be stained when you’re done.
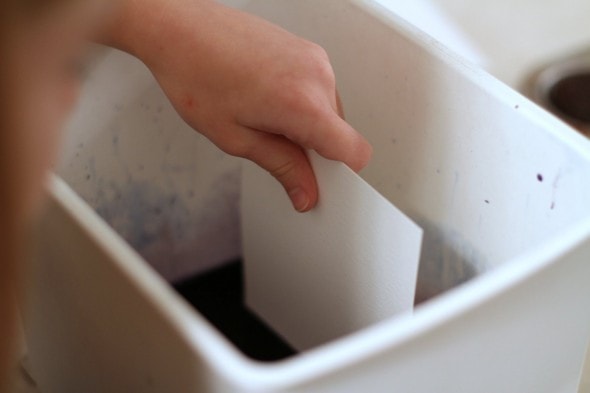
I used the liner from an old lunch box. Normally it stores extra toiletries, so it totally did not matter to me if I stained it.
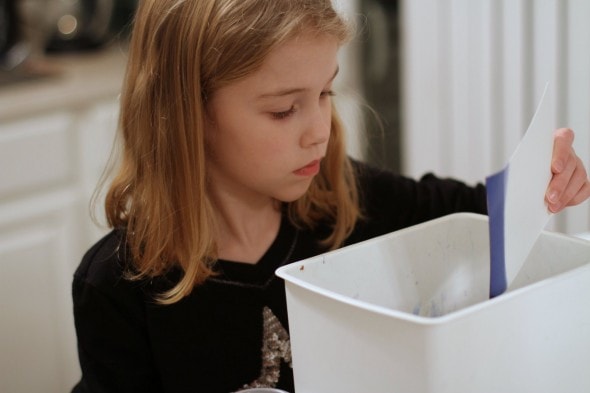
Another good option could be those Ziploc/Glad reusable containers, as they come in sizes wide enough for dipping.
So, once the dye is mixed with the water, just dip the edges of your paper into the dye.
If you just want a neat band of color, dip your paper evenly.
But if you’d like a little more color variation, you can dip one side a little deeper or soak one area a little bit longer.
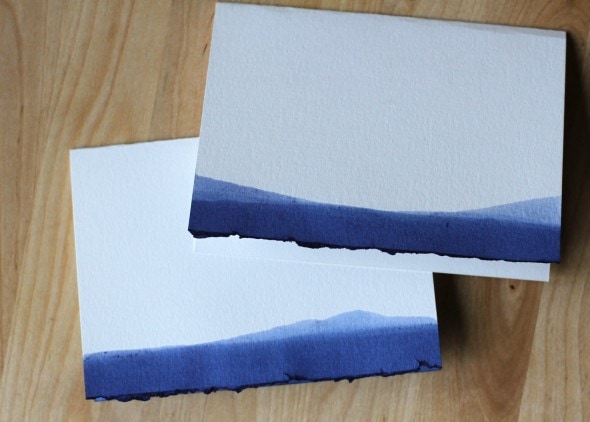
The paper in the tutorial looked like it had ripped edges, so using a ruler to give me a straight line, I ripped the edges off of some of our papers.
Watercolor paper is so thick, it’s a little tough to rip.
But I really do like how the ragged edges look, and they soaked up the color a little differently, which was nice.
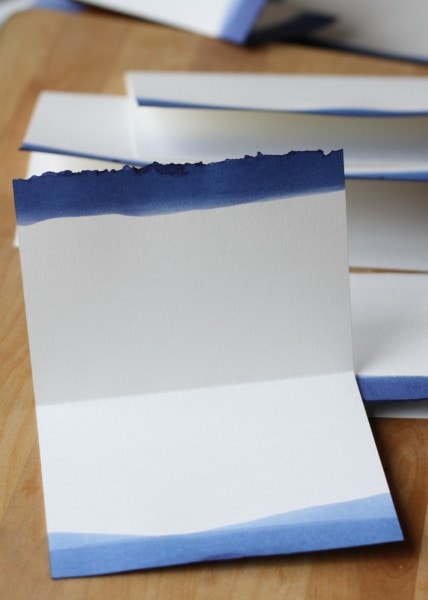
Once you’re done dipping your paper, place it on a tray to dry (dye can obviously, um, dye absorbent surfaces, so be careful!).

Sonia busied herself making one-sided notecards in various shapes.

I made two-sided cards, mostly, and for one, I dipped both the front edge and the back edge.
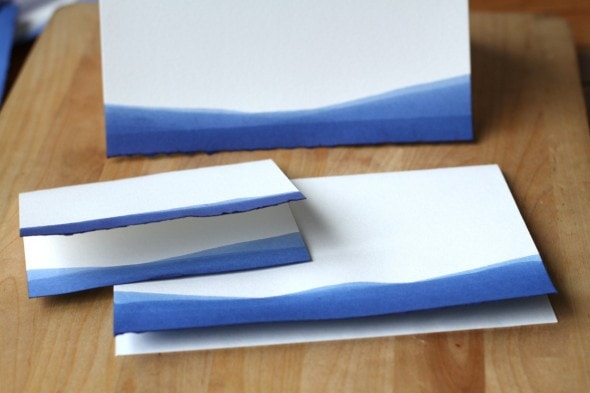
Sonia came up with the idea to make bookmarks, which worked out pretty nicely, I think!
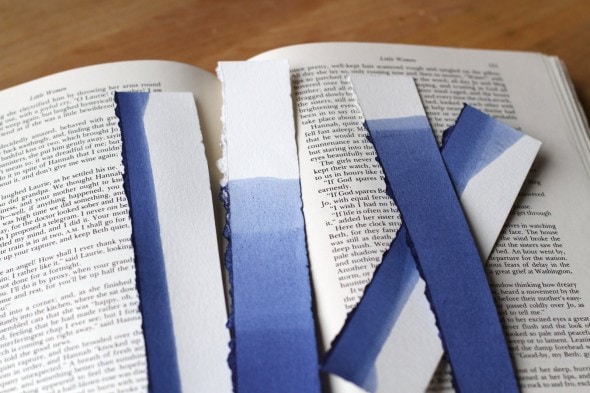
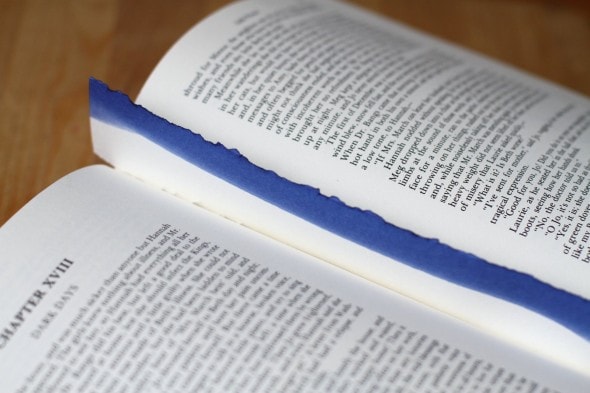
Anyway, we dipped to our hearts’ content, and still, our dip-dye solution would have done more paper. So, I definitely think half a packet plus 2 cups of water is a good combo.
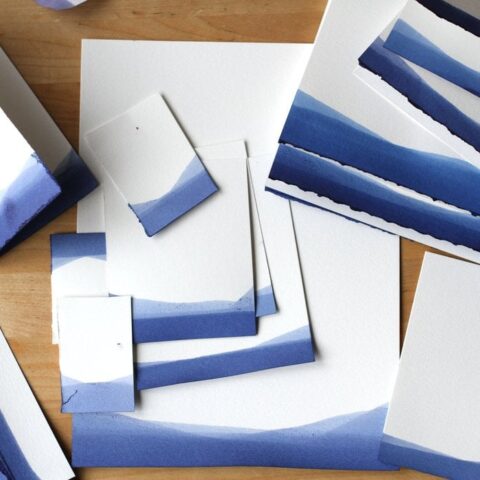
Here’s the sum total of what we made:
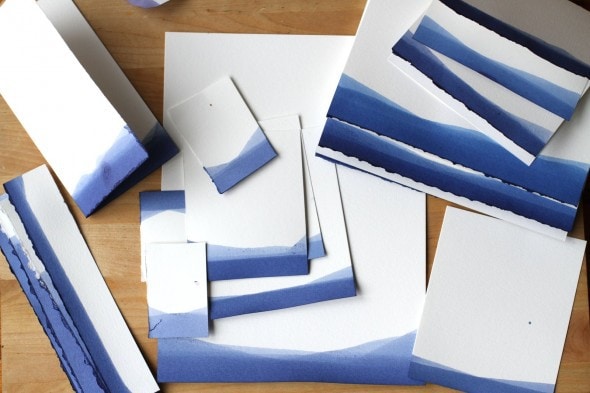
The watercolor paper was only $5 (30 sheets) after the 40% off coupon I used, and the dye cost $2.29. Plus, we only used half the dye and not even half the paper, so the cost for what we made was a mere $3.65.
So, this is a super affordable craft, and if you know someone who loves to send letters, a stack of these would make quite a lovely gift.
I definitely think that we’ll be doing this again and again, especially since there are so many other fun Rit dye colors to experiment with.
By the way, if you are like me and wonder if this can be done with regular paper, the answer is no. See?
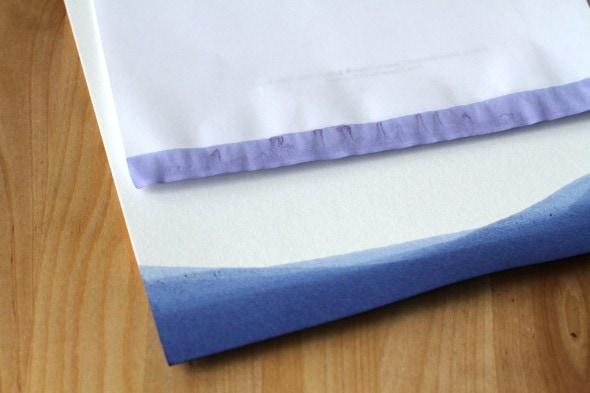
The regular paper is just too thin to handle all that liquid, and the color turns out funky as well.
So, I know you’re frugal and all, but you should pony up for the watercolor paper. 😉
This is a pretty simple process, but if you’d like a printable, I’ve got you covered below!
How to make dip-dyed stationery
Use fabric dye to make beautiful notecards and stationery from watercolor paper
Materials
- A 1 oz package of powdered fabric dye (I use RIT, which is slightly over 1 ounce))
- 1 pack of watercolor paper
Tools
- A bin wide enough for your paper (choose something you don't mind dying!)
Instructions
- Combine half a package of the dye with 2 cups of boiling water. Stir gently until no undissolved powder remains
- Cut/rip watercolor paper to desired shapes/sizes (notecards, postcards, bookmarks, etc.)
- Carefully dip paper edge into dye until desired color is achieved. Let extra liquid drip off, then place paper on a pan or other dye-resistant surface to dry thoroughly.
Notes
Dye obviously can stain things, so it's smart to cover your work surface and to wear a smock or old t shirt during this project.
Recommended Products
As an Amazon Associate and member of other affiliate programs, I earn from qualifying purchases.


Rachel R.
Tuesday 18th of July 2023
Love learning about this!
Tricia
Tuesday 7th of December 2021
Hi, love the look of the dipped edges. Would this method work on canvas board?
Kristen
Tuesday 7th of December 2021
Hmm, I'm not sure! I wonder if some sort of watered-down acrylic paint would be a better substitute; I just don't know how fabric dye would interact with the canvas.
But like I always say, if you're not sure, you can always try it and see. Maybe get a really small, inexpensive canvas to experiment with?
Bobi
Monday 20th of April 2020
Thanks so much for posting nearly everyday! It's a bright spot in my home detention day. ;-) This is a cute idea. I don't have the supplies but it did inspire me to dig out the origami paper and maybe do a project. I'm also working on the #quarantiny sourdough starter one of your readers suggested a few weeks ago so your blog really is pulling me through lately. Thanks again!
Kristen
Monday 20th of April 2020
I figured now is as good a time as any to update and republish some older posts that are languishing in the archives! Plenty of people need things to read, and I'm so glad my posts are brightening your days.
Rose J. Brown
Friday 13th of December 2019
Could you just save what dye is left for another session?
Cecilia Leffew
Sunday 17th of February 2019
This looks like a lot of fun. I will definitely be doing this with my kids. Question: how did you dispose of the dye when you were finished? I'm having visions of a blue sink. Thank you.
Kristen
Tuesday 19th of February 2019
I'm trying to remember...I may have dumped it outside! Or down my stainless steel kitchen sink, which is pretty impossible to stain.