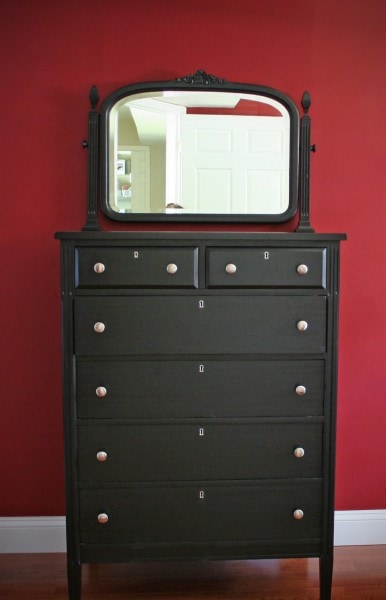
I know-this post has been a long time coming! After I wrote about my painted freecycle furniture, lots of you asked for a tutorial about how to paint wooden furniture and I’m finally getting around to it.
While I’m not a professional painter and my paint jobs aren’t perfect, I hope that reading about what I’ve learned will be helpful to you.
Before I start, though, I should probably warn old furniture lovers to leave until this post is over. I don’t really have any qualms about painting old, beat-up furniture, and so the pictures here may be slightly horrifying to you.
Ahem.
Sanding
The first order of business is, of course, sanding. Don’t be tempted to skip this step…proper sanding will ensure an even, smooth finish that is not prone to chipping.
I use an orbital sander (this Bosch is the one I use), but other small sanders would work just fine too.
I wouldn’t really recommend hand-sanding unless you are very strong/patient. It takes a LOT of sanding to remove old paint and stain, and I would get very weary of sanding if I had to do it manually.
I get tired of sanding even with the orbital sander!
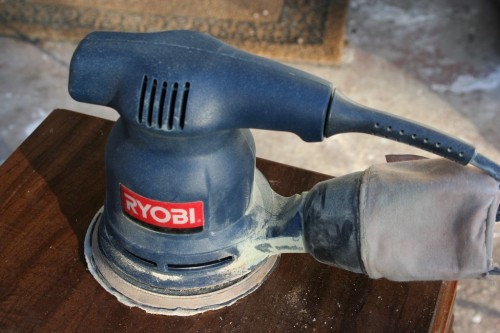
I usually start out using 80 or 100 grit sandpaper, especially if there’s a durable lacquer finish on the piece. Once most of the stain/paint has been removed, I switch to 150 grit or higher to get rid of any remaining stain/paint, and to smooth out the surface.
Invariably, the pieces of furniture I’ve gotten have had areas that are impossible to sand with the orbital sander. So, once I’ve sanded everywhere I possibly can using the orbital sander, I sand the rest by hand.
Depending on the size of the area to be sanded, I sometimes use a sanding block, but most often I just use a piece of plain sandpaper, since it can be bent and folded to reach into awkward areas.
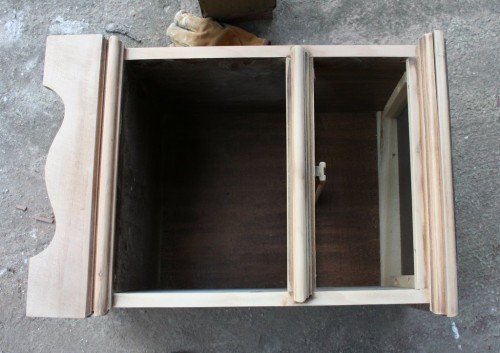
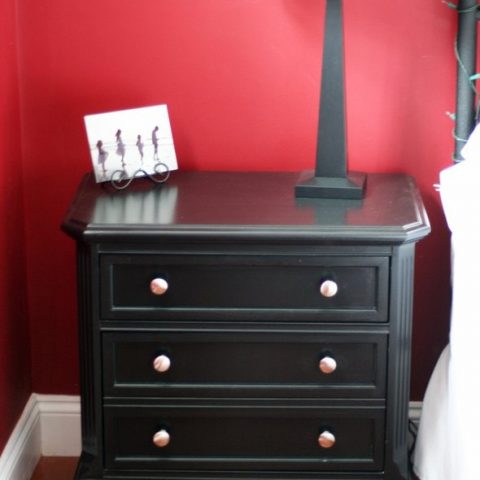
On this nightstand, for instance, I was able to use the orbital sander on the top, sides, inside, and on the lower front piece, but it was useless on the trim pieces below the top and below the drawer. So, I sanded those with a small piece of sandpaper. I did manage to get almost entirely down to the wood grain here, but that’s not always necessary.
As long as you sand enough to remove the sheen, the primer and paint should stick.
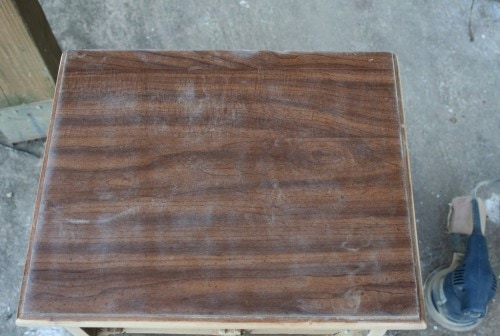
Some of the older pieces of furniture I’ve received have had tops made of something similar to formica (maybe it is formica? I don’t know.)
When I’m dealing with a piece like this, I just sand the top until it’s no longer shiny. It won’t be pretty and clean looking, but it will hold the primer.
Once you’ve finished sanding, it’s important to remove all the dust, as residual dust will keep the paint and primer from sticking.
I often use a damp cloth, or sometimes I use a dry cloth and then follow that with thorough vacuuming.
Priming
Now comes the fun part! (I hate the prepping).
Once your piece is all clean, you’re going to need to prime it. I prefer to use a spray primer, as it usually gives a neater, thinner coat than a brush-on primer does. The brand I use is Painter’s Touch, which comes in gray and white.
Obviously, gray is best to use under dark paint colors, and white is best for light colors.
When you prime, you want to do several very thin coats. In fact, when you do the first coat, it should barely look like you’ve even primed. Let the primer dry for 10 minutes or so (depending on the weather conditions), and do another coat.
Let that coat dry, and do one or two more coats. The furniture should be almost completely covered in a thin coat of primer at this point.
However, if there’s a bit of wood still showing through in places, I don’t sweat it.
Depending on the wood type, I sometimes need to sand before the last coat of primer goes on (the primer can raise the grain of the wood). If the top of the furniture doesn’t feel smooth when I run my hand across it, I just run the orbital sander lightly across it, using fine grit sandpaper. I wipe it off, apply one more coat of primer, and then I’m ready to paint.
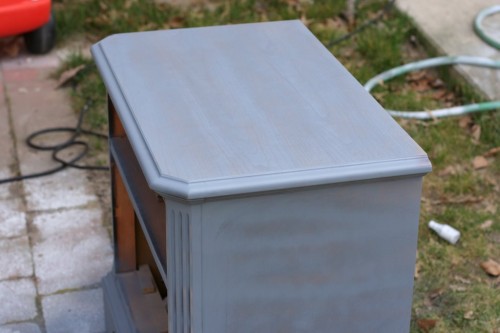
This is how my pieces usually look when I’m done priming.
Painting
Ok, on to the painting! Here’s the paint I use:
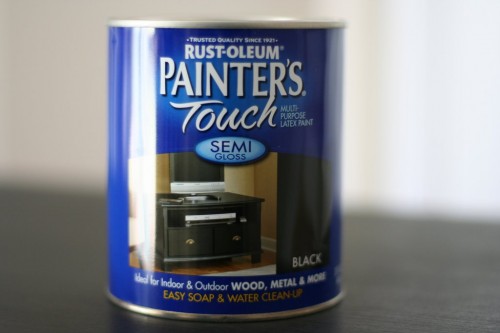
This is sold at Home Depot, but I would imagine that something similar is sold in other stores. This paint is thinner than ordinary paint, which makes it easier to achieve a smooth finish. It comes in several different sheens, but I like to use the semi-gloss.
(UPDATE-9-2012: My last can of this paint was a bit on the thick side. I’m not sure if that was an anomaly or if Painter’s Touch has changed their formula. If yours seems as thick as regular paint, that’s too thick. Stir in some paint thinner until the consistency is sort of like a thinnish cream soup. Thin paint will help you to achieve a smooth finish.)
A can this size costs about $8, and it goes incredibly far. Just to give you an idea, the 2 1/4 cans I’ve used so far have covered two dressers, three nightstands, a chair, a desk, and a file cabinet.
Mix the paint well, using a paint stick (these are free at the paint section of most hardware stores). Using a clean paintbrush (I use a regular bristled brush, not a foam brush), brush on a very thin first coat.
Just as with the primer, it’s very important to do a number of thin coats. I don’t think I can overstress this…5 thin coats are much, much better than one thick coat. The thin coats look better and they will be more durable.
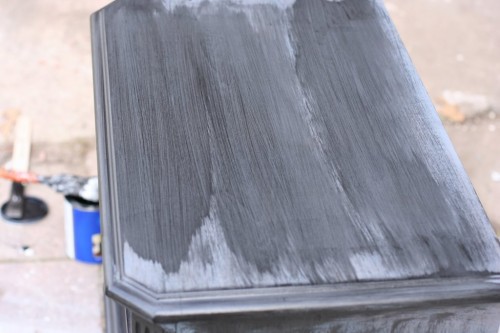
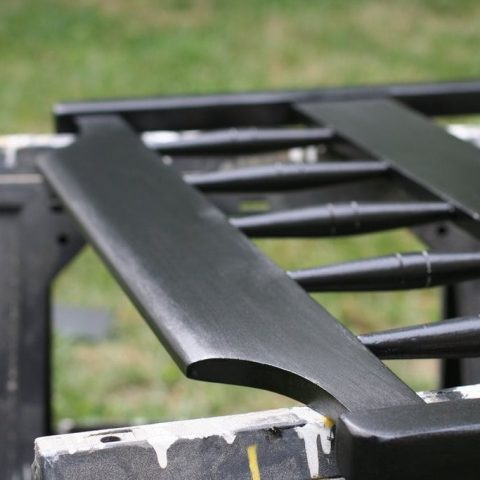
To give you an idea, here’s how sparse and thin my first coat of paint was.
I have found that when you’re painting a large, flat section(like the top of a dresser), it’s best to use long strokes that cover the entire length of the piece. This will help to ensure a smooth finish with an even gloss.
This paint dries very quickly, so as long as you’re not painting in very humid conditions, by the time you’ve put a coat of paint on the entire piece of furniture, the area you first painted should be dry again. If it’s not, wait 10 minutes or so, and apply another very thin coat. Repeat this process until the furniture is painted to your satisfaction.
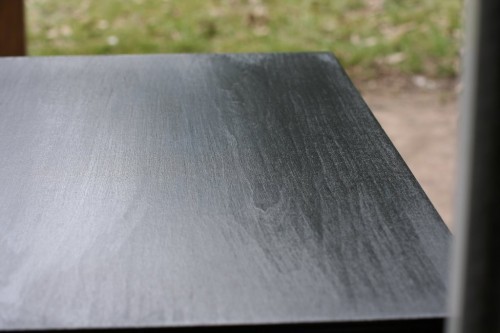
If you sanded down to the wood, you’ve been careful to do thin coats of paint, and your piece of furniture is made of nice wood, you should still be able to see some nice wood grain through the paint like so.
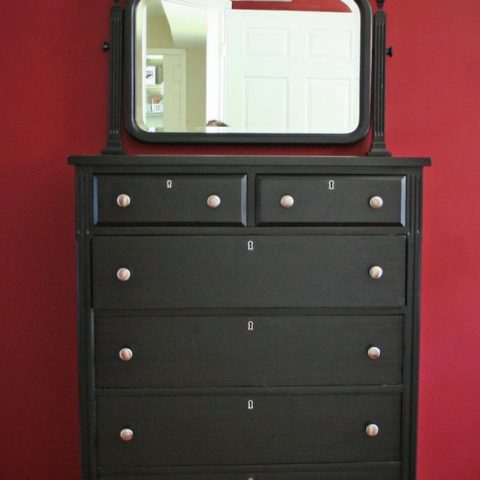
You can also see an example of the grain in this post (just scroll down) about one of my black dressers.
That’s the extent of my painting wisdom…in a nutshell, if you sand thoroughly, clean the dust off well, prime with several thin coats, and paint with several thin coats, you should be able to turn out a piece of furniture with a smooth, durable finish.
And if you’re anything like me, once you see what an enormous difference paint can make, you’ll be hooked and you’ll start looking around for more stuff to paint.
Happy painting!
P.S. This post also appears on BobVila.com as a guest post. Long after I published it here, Bob Vila’s team asked if they could share the content on Bob’s site, so please don’t worry that I stole it from him. My content is on his site, not the other way around!
______________________________________
If you’d like to see some more examples of my painted furniture, check these posts out.
Black Paint:
White Paint:
A nightstand and dresser from freecycle
You can also use this method to paint picture frames. Here’s how I did that with three frames from Goodwill (plus you can see a little side table that I painted.)
________________________________________
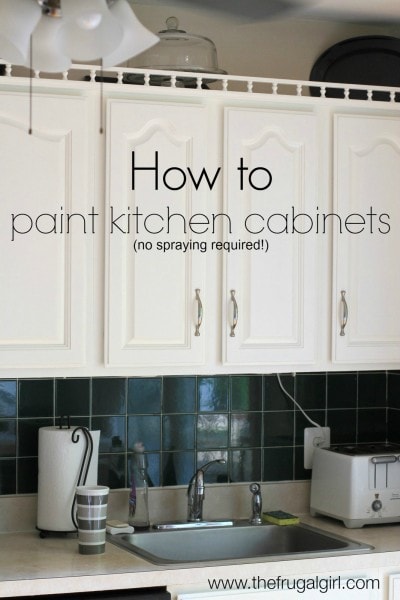
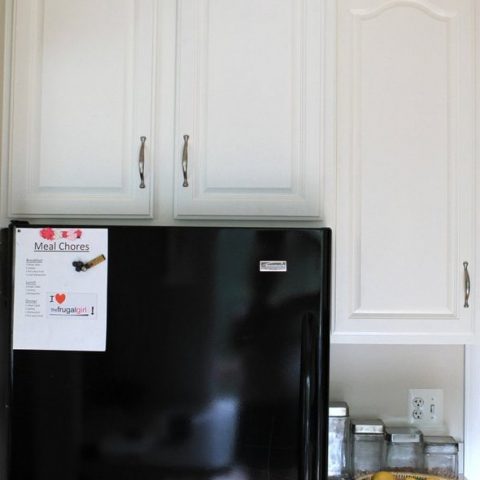
Wondering about cabinet painting? I used a slightly different method, since I didn’t want to use spray paint inside my house. Here’s how I painted my kitchen cabinets without doing any spraying.
Browse my other furniture painting projects
A white twin bed with drawers
A craigslist pine bed, painted white
Before and afters of kitchen cabinet painting
I turned my pickled oak cabinets white with Benjamin Moore Advance paint.
A duo of Goodwill nightstands
I painted a pair of nightstands from Goodwill to replace our old Ikea nightstands.
Before and afters of a tallboy dresser from Freecycle
This dresser was in really bad shape, but a coat of paint fixed it up very nicely.
A freecycle nightstand
It almost perfectly matches the freecycle dresser!
A freecycle dresser and nightstand
Here's my first foray into white furniture painting.
Twin beds turned white
An unstacked bunkbed set, made fresh with Benjamin Moore Advance paint.
Black Ikea loft bed
I turned a walnut craigslist loft bed black.
Black hand-me-down bed
I fixed a terrible paint job from the past, when I had no idea what I was doing!


pjwoods
Thursday 21st of July 2022
Another stunning piece of furniture. It looks as if it was solid wood before you started. You really are good at this. Can you do it as aside hustle to take you through nursing school?
alex
Saturday 11th of November 2017
Great Post. I was thinking about spray paint after reading this i will go for it. Thanks for sharing
Joan Holland
Friday 7th of April 2017
If you are still writing your blog, I would like to subscribe because your info is readable for a novice such as myself.
Joleene
Tuesday 14th of March 2017
Looks like you just copied and pasted this from the This Old House website. Nice job!
Kristen
Tuesday 14th of March 2017
Actually, if you read the post, you'd notice what I said regarding that. I wrote this post originally, and This Old House asked if they could reprint it.
And that's clearly stated on the This Old House article too. So don't worry! No plagiarism is happening here.
Chris
Tuesday 7th of February 2017
Firm believer in if its good piece of furniture/wood to stain it and than poly. The wood is the star of the show not the paint! If the furniture is so so by all means.
Good tips thou