I’m painting my kitchen cabinets this summer, and I’ll take you along for the ride by posting updates as I go through the process. And at the end, I’ll do a big ol’ how-to post, sharing what worked (and what didn’t!).
Before I could start on the project of painting the cabinets, I decided to tackle my kitchen ceiling. When we moved into this house, there was a lot of cigarette smoke damage, so all of the walls and ceilings and floors had to be sealed and painted.
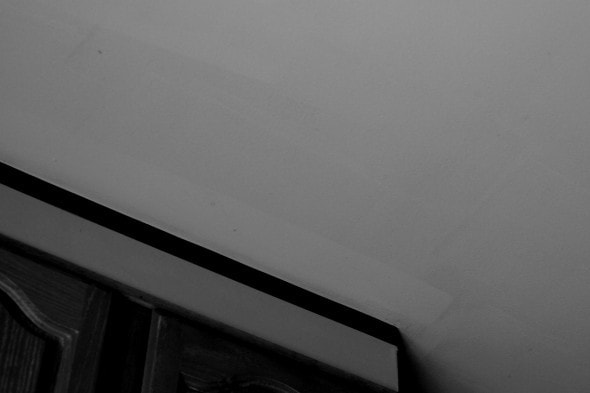
And somehow, in the hubbub of doing that and moving (and me being pregnant with Zoe and very sick), the kitchen ceiling never quite got a really good paint job. It was sort of splotchy, which you can see in this photo.
(sorry about how dark it is…it was the only way I could get the ceiling variations to show up!)
 |
Anyway, it made sense to paint the ceiling before the cabinets, because that way, if I got any paint on the cabinets, it wouldn’t matter at all.
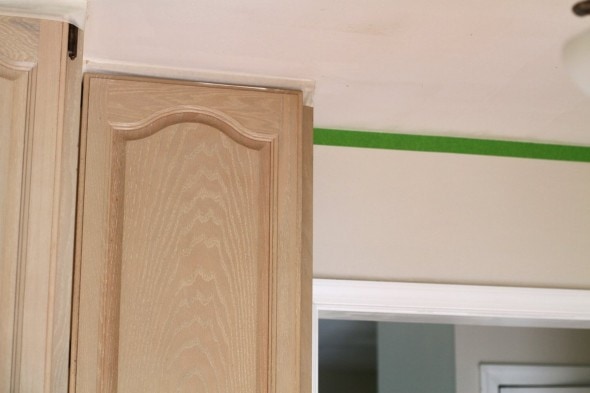
I taped off the walls and the tops of the cabinets, using up some cheap painters tape on the cabinets, since it’s not all that important to keep paint off of cabinets that are going to be painted.
 |
I also taped around the ceiling fan and took the fan blades off, which was an excellent decision. It was so much easier to work up there without the blades being in the way.
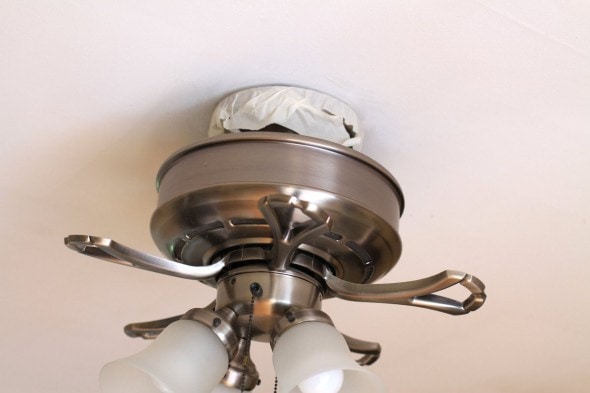 |
The fan looked so funny without the blades…kind of like how a semi truck looks odd with no trailer on it.
This provided me with an excellent opportunity to clean the top side of the blades, which had a good six years of greasy build-up on them.
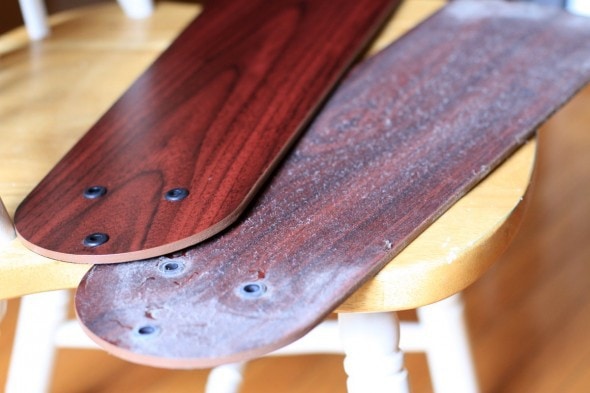 |
I had dusted them, for the record, but not all that often, and I know I hadn’t actually cleaned them since the fan was installed.
During the process I remembered why I hate ceiling work so much….paint splatters all over you, it’s noticeably hotter up there, and you have to work really hard to keep the floor clean (I used a tarp on the floor and a drop cloth to protect the counters.)

|
But I got the painting done in an afternoon, and that included cleaning the fan blades.
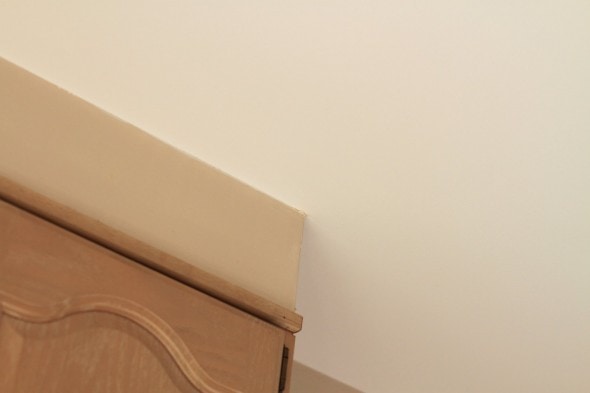
And I’m really happy that I tackled this, because the ceiling really does look so much newer and cleaner now.
|
Up next: cabinet paint testing and color picking.
I do believe I’m actually going to get this done before summer’s end. Yay!
P.S. In case you wanted to know, I use Behr flat white ceiling paint from Home Depot, and I use a roller for the main parts of the ceiling and a brush for the edges. The green tape, is called Frog Tape, and it’s totally awesome and worth the extra money when clean lines are important.
____________________
Joshua’s 365 post: More Underwater Pictures

Tabitha
Sunday 21st of July 2013
I second Frog Tape! I've used lots of others, and Frog Tape is the only one to reliably give me clean lines. Spend the extra few cents - it is completely worth your sanity!
Jen C
Wednesday 10th of July 2013
I am definitely looking forward to following along on this project. I have been thinking about painting out cabinets for years and have been scared to take the plunge. There is no going back once I start!! My 1960's kitchen certainly does need an update and it isn't in our funds to remodel for a number of years so painting sounded like a good option!
Good luck!!! Jen C@livinginwbl.com
Stephanie
Wednesday 10th of July 2013
Do you have to clean the ceiling before painting? And if so, how?
I hit the cabinets and appliances with a degreaser/cleaner periodically, and I imagine there's some, uh, uncleanliness on the ceiling as well.
Stephanie
Wednesday 10th of July 2013
Do you have to clean the ceiling before painting? I hit the cabinets and appliances with a degreaser/cleaner periodically, and I imagine there's some, uh, uncleanliness on the ceiling as well.
Amy @ Fun With Family and Fitness
Wednesday 10th of July 2013
We are doing the same thing right now! We are doing the whole kitchen, cabinets, countertops, backsplash and paint! We are using the Rustoleum cabinet transformation kit. My husband just finished all the cabinets and they look fantastic!!! We went from white to dark brown (Espresso). We are also going to be using the paint method for our countertops; to give the illusion of granite and we are in the process now of doing the tile backsplash and the walls have already been painted this past weekend. It is so exciting!!! :) Hopefully I can post before and after pics on my blog; if I can ever find the time (that's a whole different story; I'm typing this comment quickly before I have to get ready and rush off to work!!!!)
HeatherS
Tuesday 9th of July 2013
Can't wait to see how this goes. We have been discussing painting our cabinets for years and I think we will finally tackle it this fall. I have always thought I would go white but saw a pic of a kitchen with black cabinets and I really liked it. So now I am giving myself till fall to rethink the color before I start.
Kristen
Tuesday 9th of July 2013
I like black too, but I have black appliances and my kitchen is pretty small, and so I had to give up that idea. It would have made the room too dark and cramped-feeling.
But I think black cabinets are GREAT in some kitchens.
Just not mine.
Boo.
Victoria
Tuesday 9th of July 2013
Love Behr paint even though I have to drive 45 minutes to the nearest Home Depot I will only purchase Behr paint. When we renovated 3 homes I had plenty of chances to try out various paints and Behr was the best hands down. Can't wait to see the cupboards.