Remember that day last week when I took three trips to Home Depot and tried 7 sample colors?
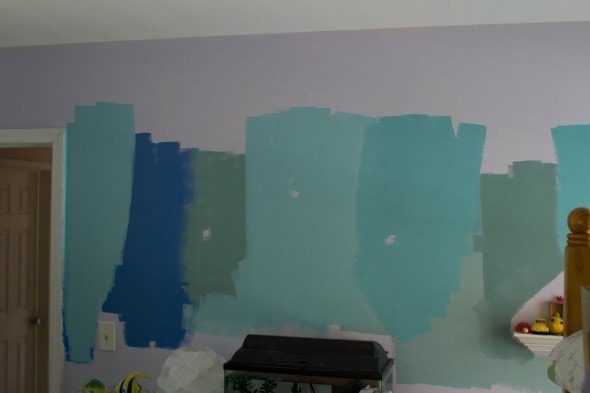
Well, when Mr. FG came home from work and heard about our sad tale, he suggested a trip to the Benjamin Moore store to see what colors were available.
You know how sometimes you’re in a place to hear things and sometimes you’re not?
This was one of those, uh, not times.
My initial thought was, “NO FREAKING WAY. What a terrible idea!”
(Note: I did not say that out loud. I just said nothing. Which was probably a better choice. 😉 )
You see, I really hate shopping and running errands and wasting time, and that day was full of all three of those things.
So I was Not At All in the mood for more shopping and more choices.
Buuuut, I took a day off from the painting project to do some yard work, and the more I thought about it, the more sense his idea made.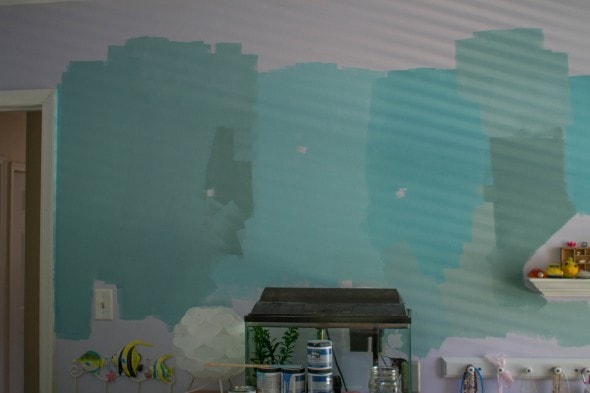
Go to a new store, have Sonia and Zoe pick a new color that’s in between the two favorites, and bring home just one sample.
So then it wouldn’t be Sonia’s color or Zoe’s color, but one they picked together.
This way, no one wins and no one loses (a point a lot of you made), but compromise happens. And since the two colors they wanted weren’t worlds apart, I thought this idea could work.
(If one wanted orange and the other wanted purple, this would be more challenging impossible.)
Plus, the Benjamin Moore store always has a super helpful paint person to assist with color choices, whereas the Home Depot employees pretty much just mix paint.
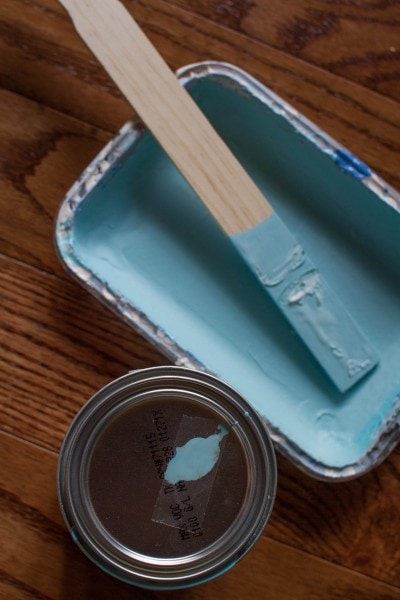
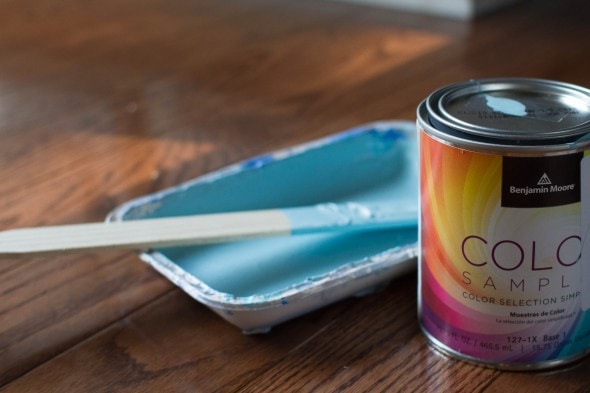
So, on the way home from an errand, we stopped by the store and the lovely paint person located a shade that really is right in between Sonia’s color and Zoe’s color.
Meet Tranquil Blue.
I brought it home, painted a section on the wall the next day (I had to reach a bit to find any unpainted wall by this point!) and they both approved.
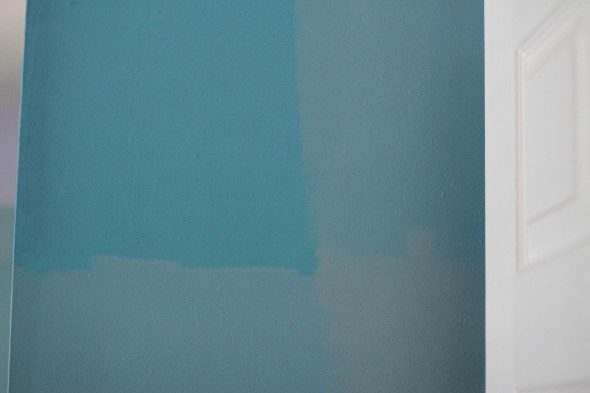
New color: lower left quadrant and upper right quadrant
PHEW.
I’m pretty sure that was the hardest part of the project, so it should be smooth sailing from here, at least comparatively.
Here’s what’s left to do:
- Box up some of S&Z’s possessions to make room for painting
- Patch holes/dings in the wall and sand patches
- Caulk any gaps
- Paint moldings and door trim
- Touch up ceiling paint
- Tape off trim
- Paint walls
- Paint one wall with chalkboard paint
- Hang things back up on the walls
- Figure out new curtains (we’re thinking some like Lisey’s)
I’ve got a good month before school starts, so I think the odds of me getting this done are excellent.
The prep work is always annoying and unrewarding, but when I get to the actual wall-painting part, I’m always glad I did a thorough job of prepping. Molding painting especially makes a huge difference!
(Yes. That’s me pep-talking myself.)
Allllrighty. Hopefully my next update on Sonia and Zoe’s room will be filled with photos of a room painted all one color.
Which will be a huge improvement over what we’ve got going on now.
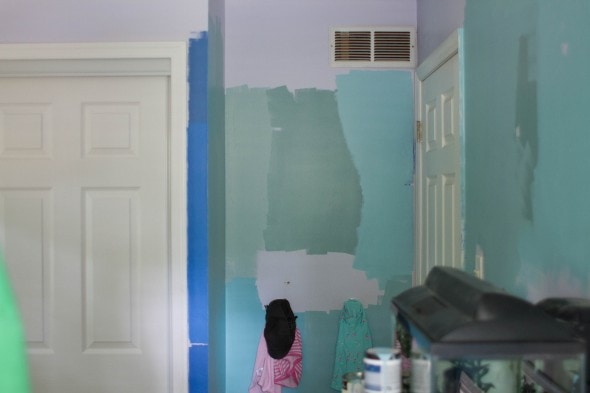
P.S. Here’s what their room looks like after the painting job (including a chalkboard paint wall!)

Rachel
Wednesday 29th of July 2015
How appropriate that the compromise color was "Tranquil Blue" :)
Carla
Monday 27th of July 2015
Yey! for a solution that works through the problem! It's awesome you tried a different approach and it work, and sometimes that's all it takes, we get all stuck in the "let's choose A or B", that it can take another person sometimes to say, "hey why don't you try C?". And a great opportunity to also model problem solving that is not about winning, but about find a solution that works. :)
jenny_o
Monday 27th of July 2015
Yay for standing back and taking time to get perspective! (and yay for our family members who can provide perspective because they aren't so mired in things in the first place)
I'm glad the girls found a blue that they can both love.
Kris
Monday 27th of July 2015
Yay! You came up with a solution that suits everyone. And since you're replacing the carpet, you don't have to be super careful with protecting the floor. Bonus!
Kristen
Tuesday 28th of July 2015
Yes. That's precisely why I wanted to paint BEFORE we got the carpet. Love not having to worry about the flooring!
Summer
Monday 27th of July 2015
Did you know that you can make your own chalk paint very easily and cheaply? Just dissolve a little unsanded tile grout in some water, stir into flat latex paint, and there you go. There are lots of instructionals out there. I didn't even measure mine, and it worked on the first try. However, I probably would measure it if covering a large area. This link gives you more information. Despite the recommendation for calcium carbonate, I went with the grout as I had some already and the calcium carbonate is rather expensive.
http://salvagedinspirations.com/best-homemade-chalk-paint-recipes/