
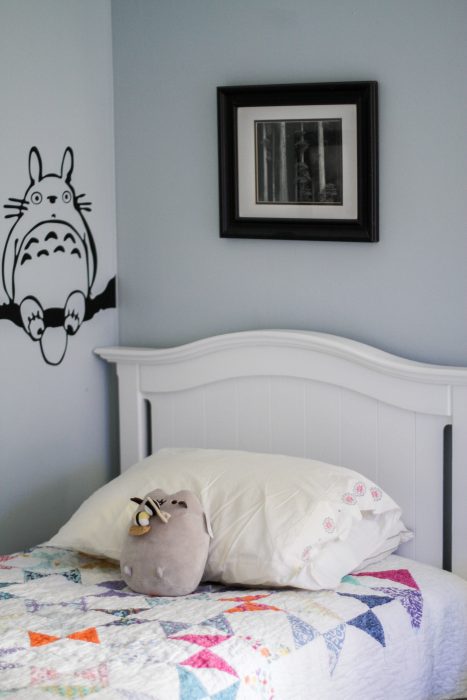
I bought this bed off of craigslist years ago.
and I painted it white,
so Zoe could switch from her converted crib (poor kid was six at the time!) into a twin bed.
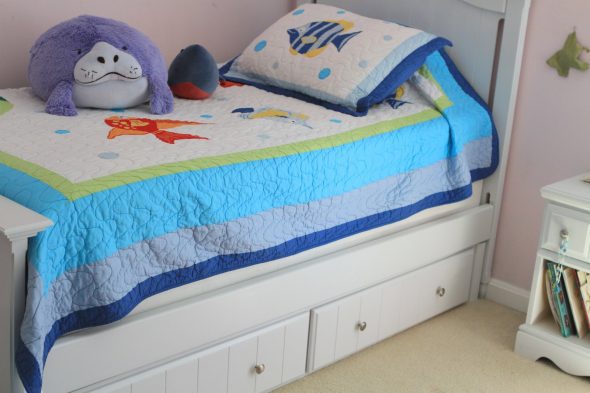
A year later, we moved Zoe in with Sonia and moved Lisey into this room.
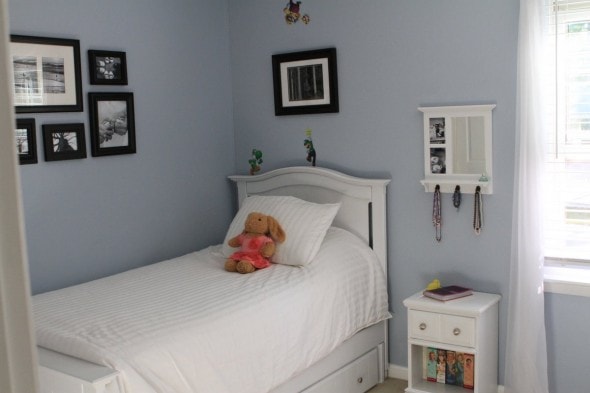
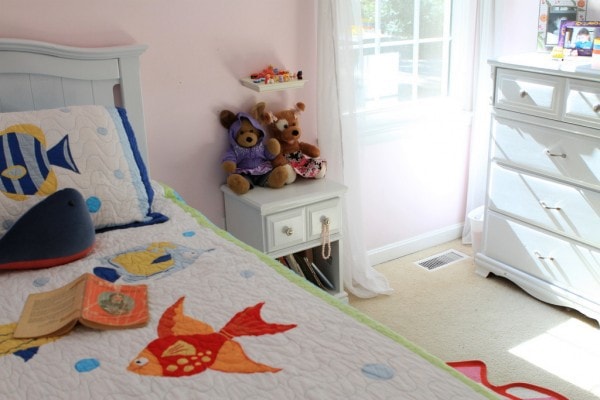
Here are all the before and afters of Lisey’s room project.
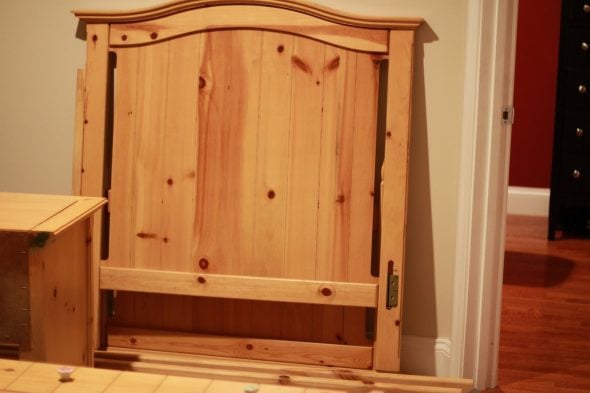
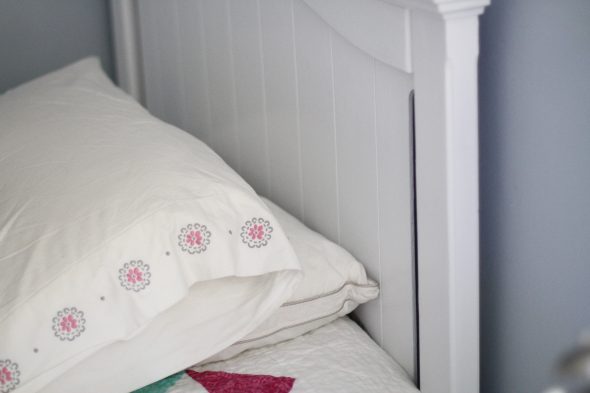
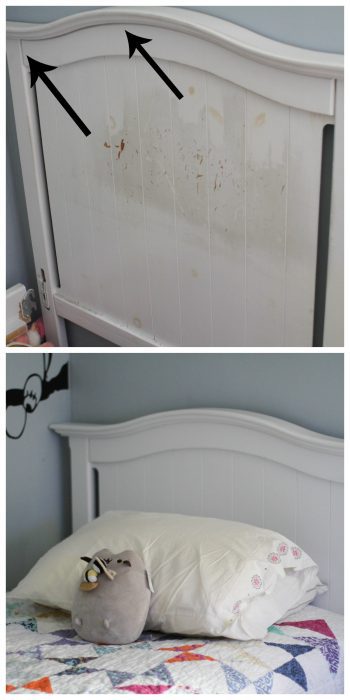
I painted the bed in 2012, and after this many years, the headboard paint was getting pretty worn. I think I maybe didn’t do quite as good a job of sanding this part of the headboard as I should have. Who knows.
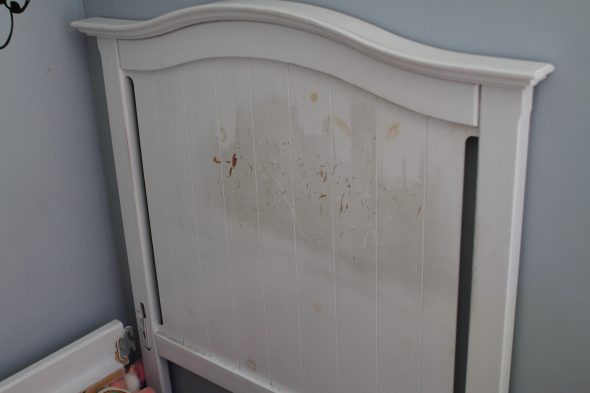
The side rail, which Lisey always props her feet up on, was wearing too.
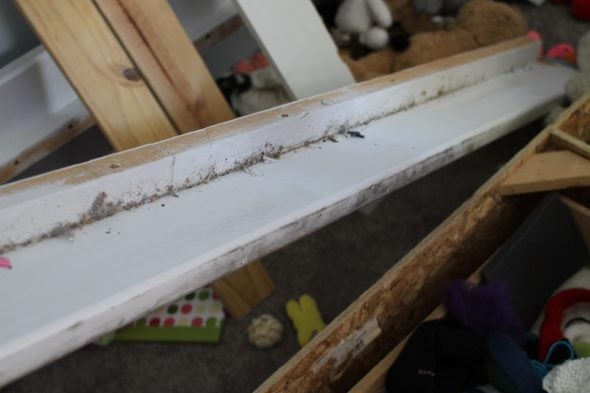
So, I took the bed apart and put the offending side rail and headboard up on sawhorses.
I sanded them down with pretty fine grit sandpaper, using my orbital sander (love that thing! $59 and totally worth every penny).
I did not sand all the way down to bare wood on the whole thing…I just scuffed up the worn parts and went over the area where the worn parts met the intact paint as well.
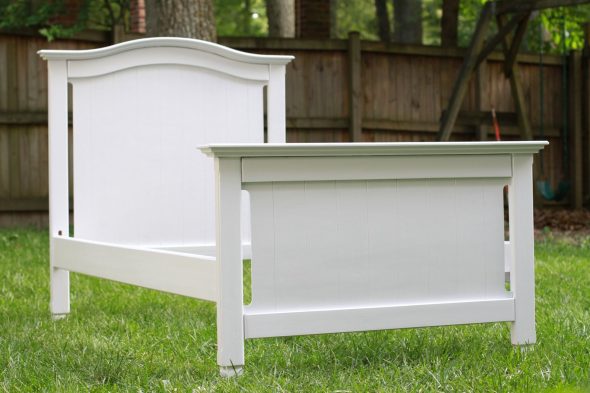
Then I spray primed the whole sanded area using white primer.
And then I did multiple thin coats of my favorite furniture paint in semi-gloss white.
Happily, I had a partial can left on my shelf so I just thinned it with water and I was good to go!
(Here is, step by step, how I paint wooden furniture.)
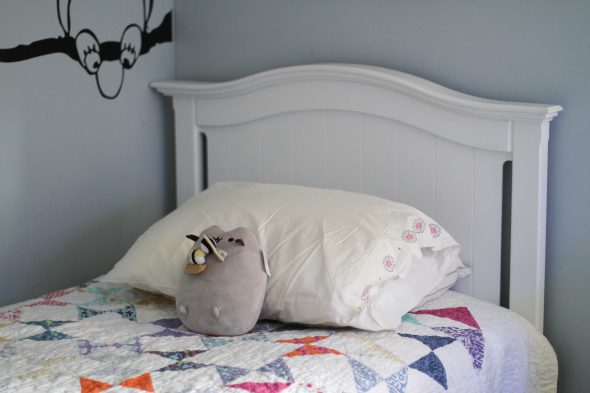
Her headboard is all nice and fresh now. Yay!
And so is the side rail.
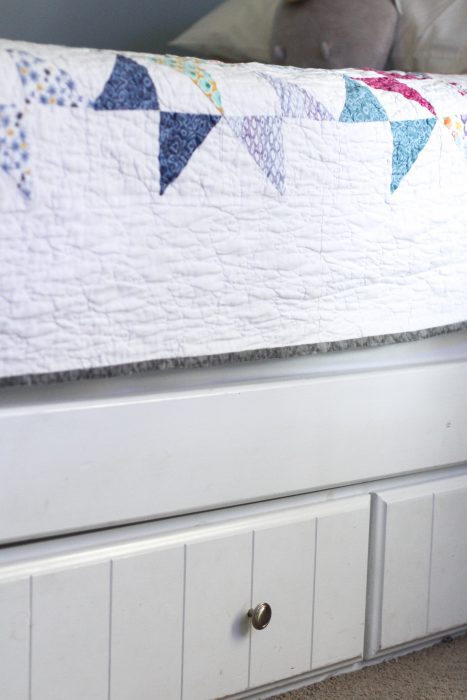
That’s a lot better!

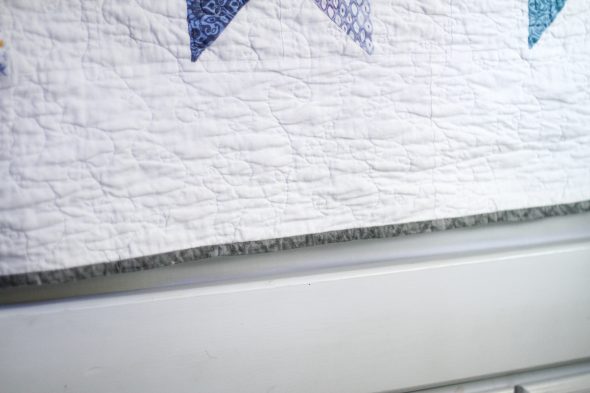
Oh, and I forgot to mention…I used this little caulk trick on a couple parts of the bed this time.
I hadn’t learned about it when I painted the bed the first time, and it definitely made a difference in some of the gaps.
Super handy when you’re painting furniture a light color!
So.
I showed you my soffit painting, today I showed you the bed, and I just took pictures of my bathroom painting project, so I’ll share the before and afters of that with you soon.
P.S. Sonia knitted a large blueberry muffin this week.
Jeanine
Thursday 7th of September 2017
Kristen, your completed decluttering list is another great achievement! Well done! I am working on that one too, and have a garage sale planned.
Donna Brevard
Sunday 27th of August 2017
The entire room looks beautiful. I currently have a twin bed for my great granddaughter who is only 17 months old but preparing for the day when she will be spending overnight time with me. I wish her bed had those drawers for storage under them as they look so neat. Instead, I will have to get a dust ruffle. Decorated her room in princess theme so hope she grows to like it later. I have the same exact quilt with the stars on it. I thought my grandmother had made it because I have other ones that she did make. Looks like I was wrong about that.
Diane
Thursday 24th of August 2017
A wonderful painting job! And I must remark on the quilt. Handmade? It is just lovely. I want to copy the design for a baby quilt. It looks so vintage and cozy.
Kristen
Thursday 24th of August 2017
Yes! A friend of mine made that for Lisey to thank her for helping out in the ministry she headed up at the time. Lisey was very touched.
April
Thursday 24th of August 2017
This is a rather random question, but I'm curious. Do all your children have twin beds? The reason I ask is I was just wondering if most people keep their kids in twin beds or upgrade the size through the years.
Kristen
Thursday 24th of August 2017
Yep, all four of them are still in twin beds. Including Joshua, who is over 6 feet tall.
My sister and I slept in twin bed bunkbeds until we left home as well. So, I'm thinking you'll be fine with twins if that's the route you'd like to go.
Jenny
Thursday 24th of August 2017
For some reason I am totally intimidated by caulk! I looked at the link but could use more guidance, like, how do you get it smooth and not big blobs? Do you use a gun or a tool of some type? I need to do it for furniture and also bathroom surfaces, and outside, too. Help!
Kristen
Thursday 24th of August 2017
Oh yes, I always use a caulk gun. I run a bead of caulk over the surface and then use a wet finger to smooth it out.
Here's a video that might be helpful to you: https://www.lowes.com/projects/paint-stain-and-wallpaper/how-to-caulk/project