Way back in 2003, when I was pregnant with Sonia, we bought a bunkbed, and at various points since, all of my kids have used it!
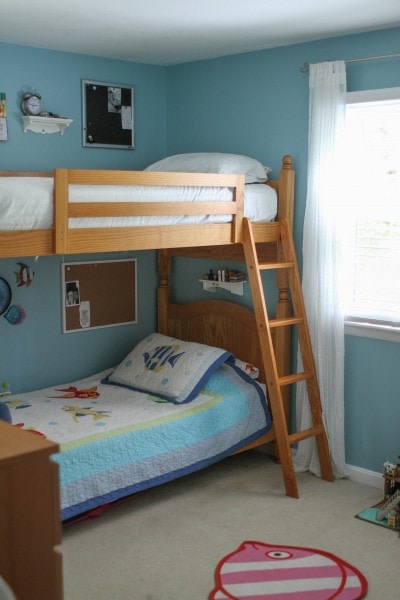
Once Sonia and Zoe both got their own rooms, we unstacked the bunkbeds.
I wasn’t about to paint the beds in the cold of winter, so I put this on my summer to-do list.
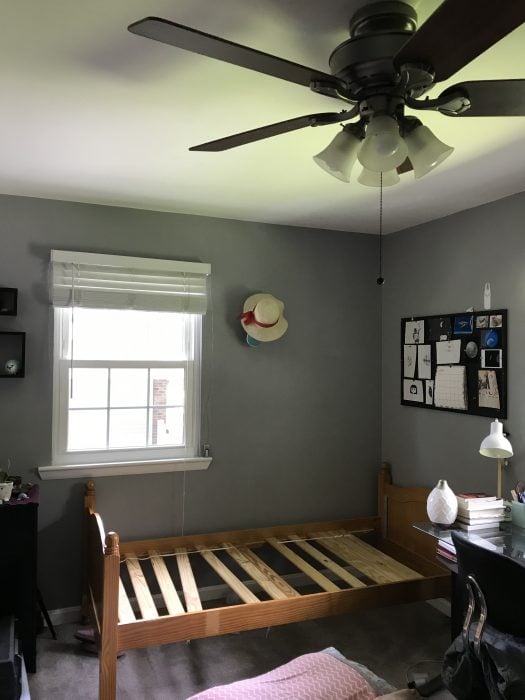
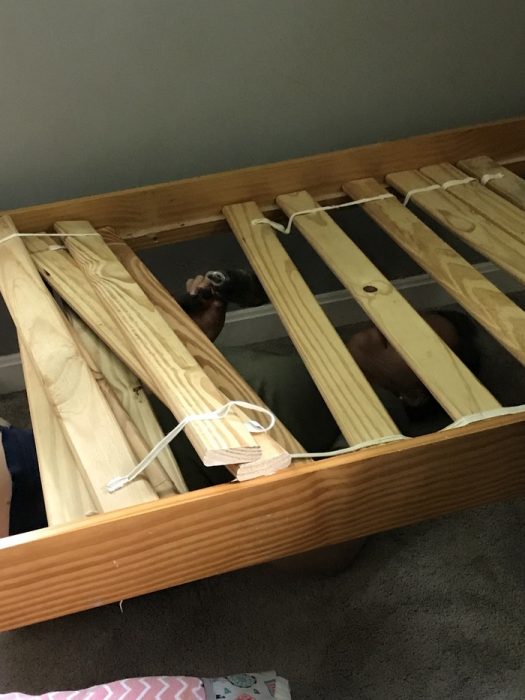
I took the beds apart, which required me getting underneath Sonia’s with a drill.
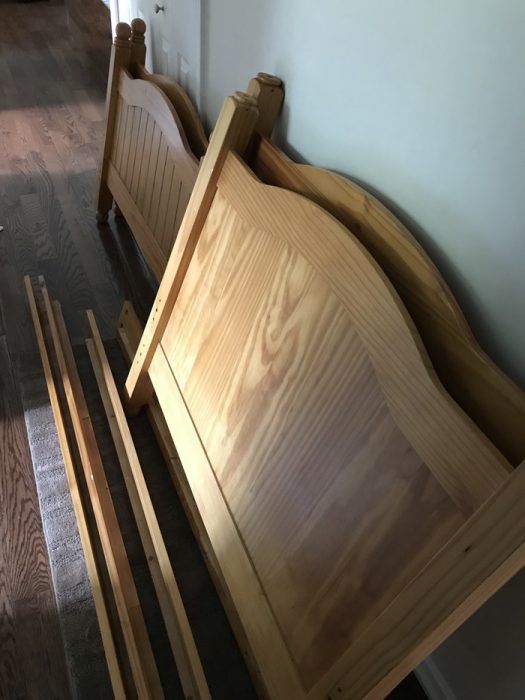
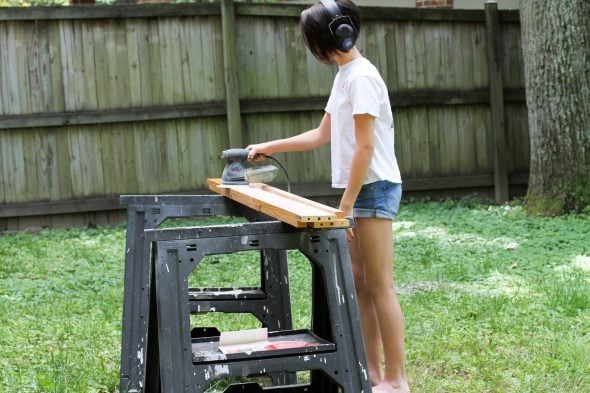
I had Sonia and Zoe help me sand these down, using my Bosch orbital sander.
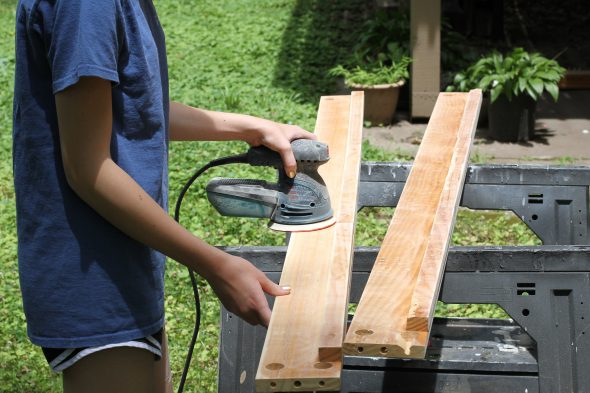
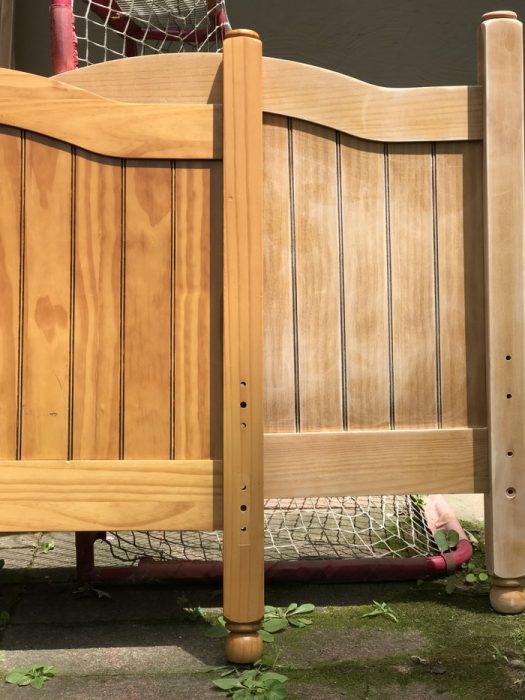
A nice thing about refinishing is that you can even out colors. These had fade marks from where the top bunk rail used to be.
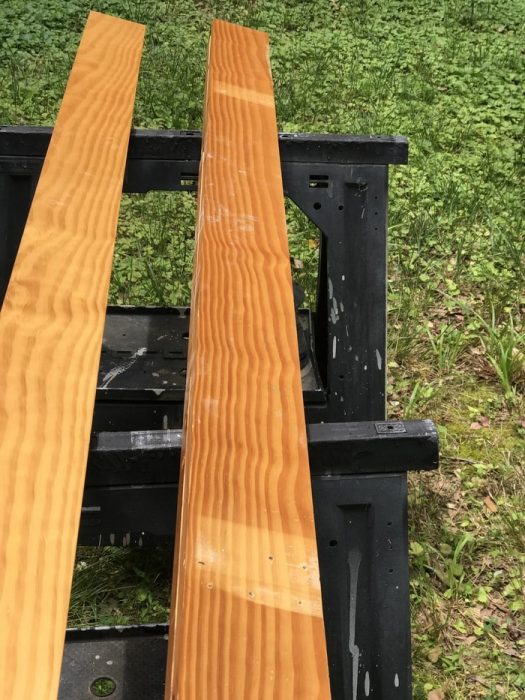
I also was able to fill the screw holes left from the rail and the ladder (both not necessary once the beds were unstacked.)
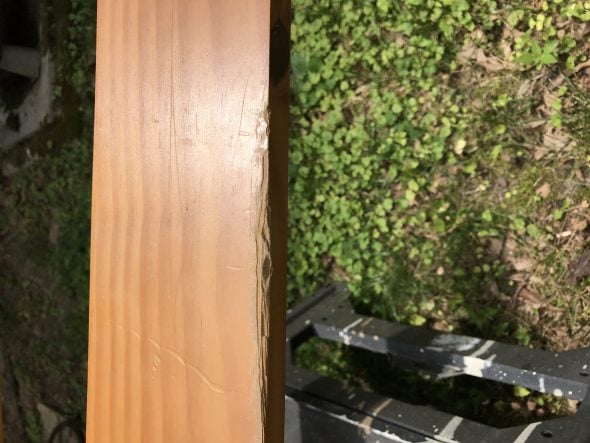
Also…a certain unnamed child chewed part of the top bunk when said child was small and the bed was quite new.
So, I was glad to finally be able to sand that damage down and paint over it!
After sanding, I primed everything with Zinnser water-based primer.
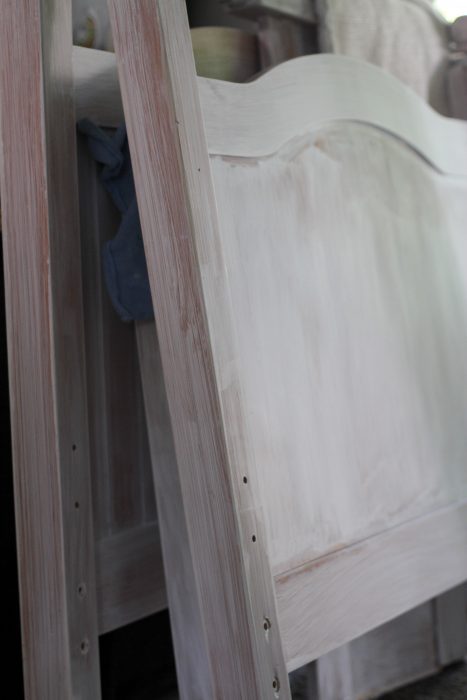
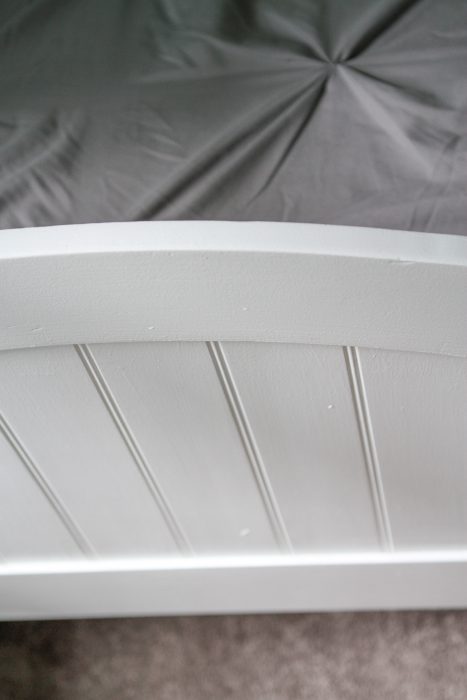
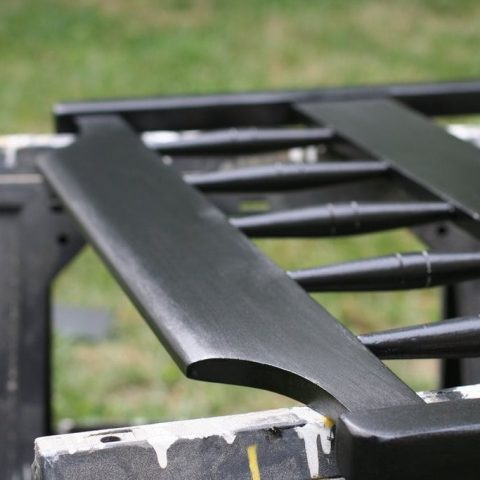
And then it was time for paint; Benjamin Moore Advance, satin sheen, in Cloud White.
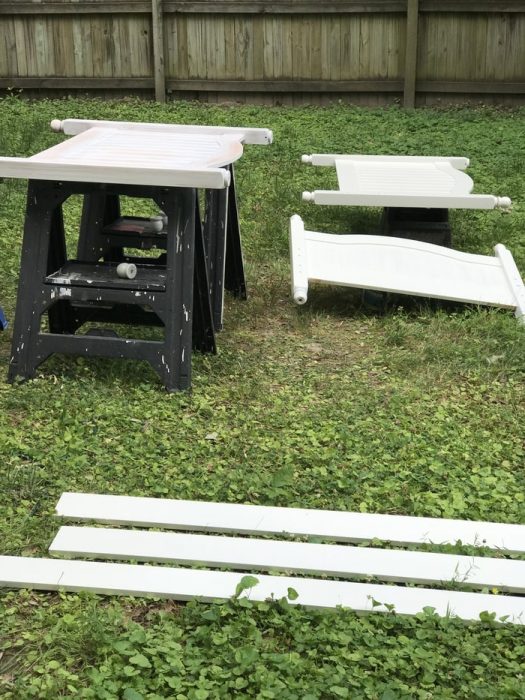
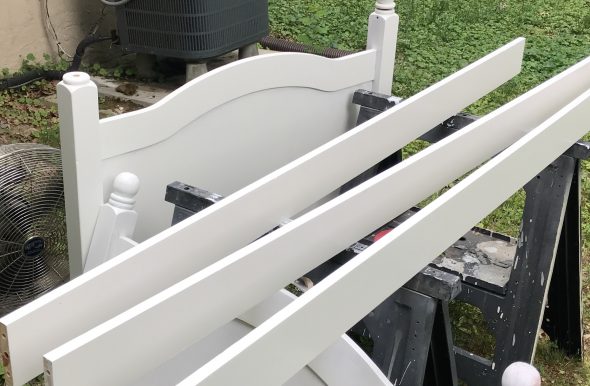
Once all the painting was done (two coats, three in places that were especially hard to cover), I let the pieces dry for a day or two, just to let the paint get nice and hard.

And then I put the beds back into Sonia and Zoe’s rooms.
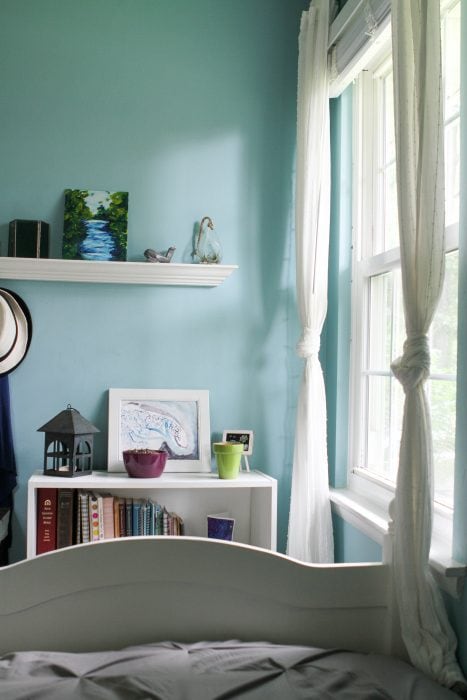
Zoe’s Bed
Zoe’s now matches all the rest of her white furniture.
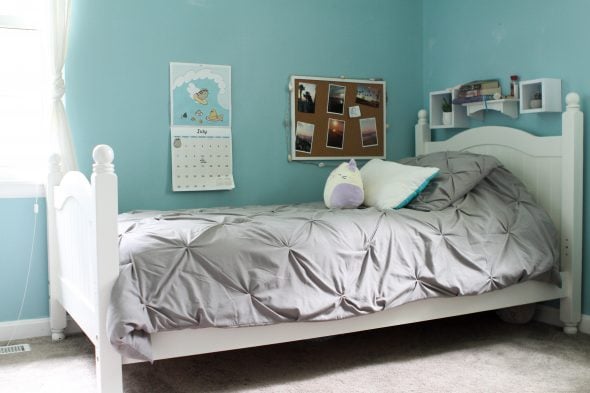
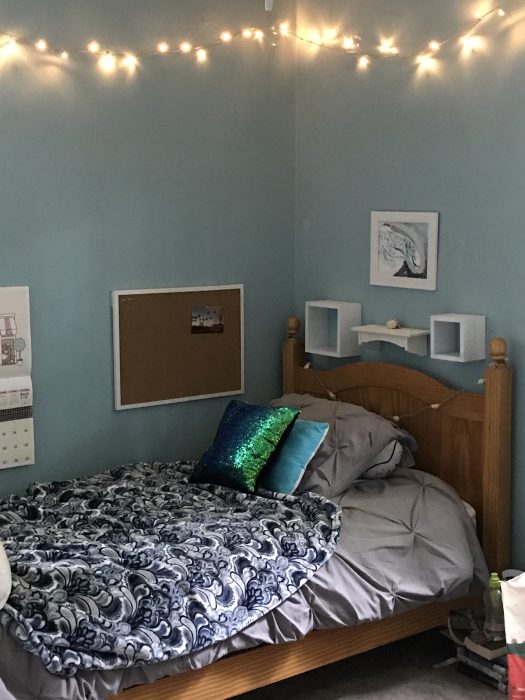
(The things around her bed are hung low because they had to be when her bed was a lower bunk. We’ll rearrange them when we paint her walls.)
She’s getting rid of this wall color this month, but the white bed does look great with it!
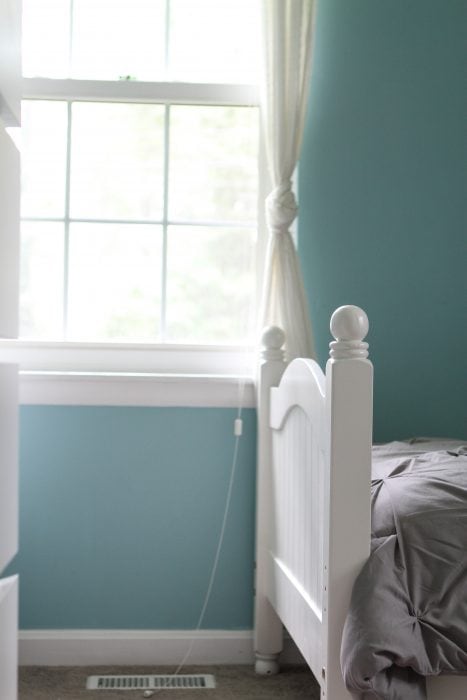
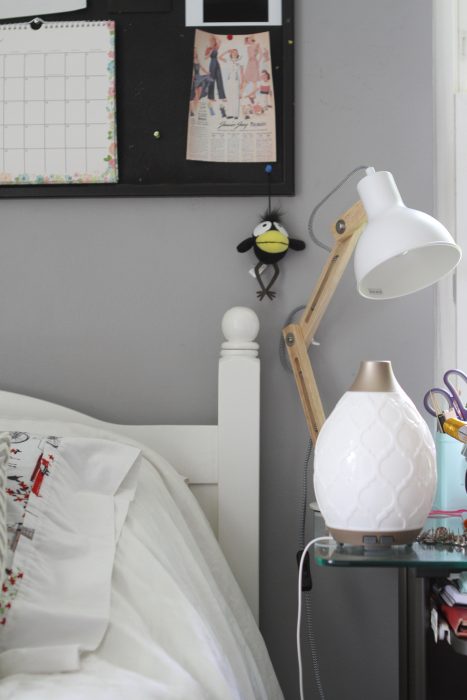
Sonia’s Bed
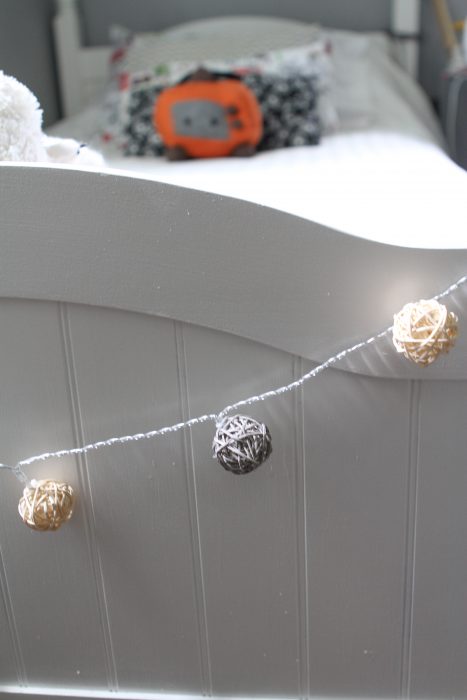
Sonia’s is lookin’ good with her gray walls.
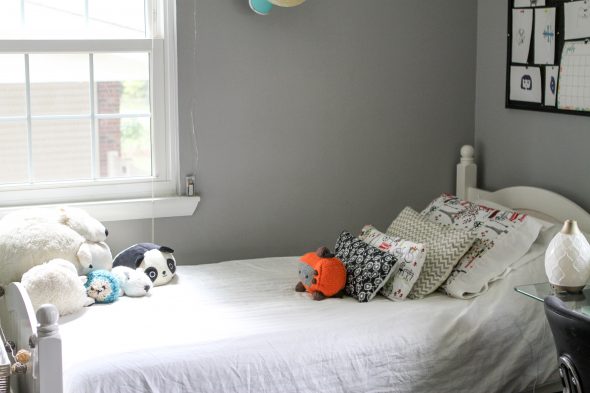

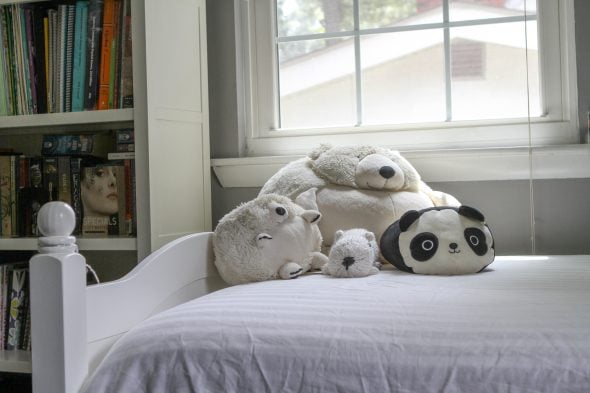

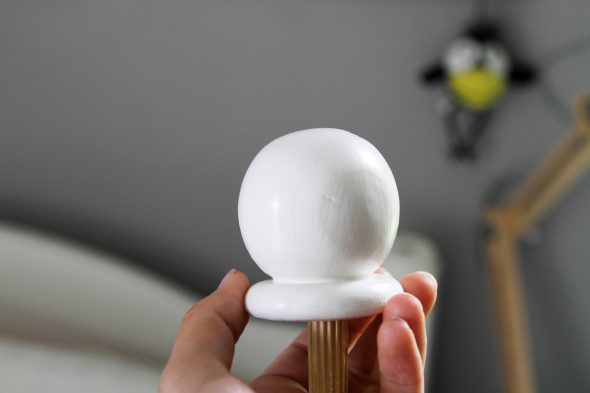
When we got this bed in 2003, I put the included finials in a bag and I’ve stored them ever since, on the off chance we’d un-stack the beds one day.

And I’m really glad now that I did!
This project took me two days to complete, mainly because I had to sand and paint both sides of the headboards and footboards.
That means a lot of extra sanding, painting, and drying time.
But it’s done, and now the girls both have beds that look new and that match their rooms so much better than before.
I got Sonia’s dresser painted as well, so keep an eye out for that later this week!
Browse my other furniture painting projects
A white twin bed with drawers
A craigslist pine bed, painted white
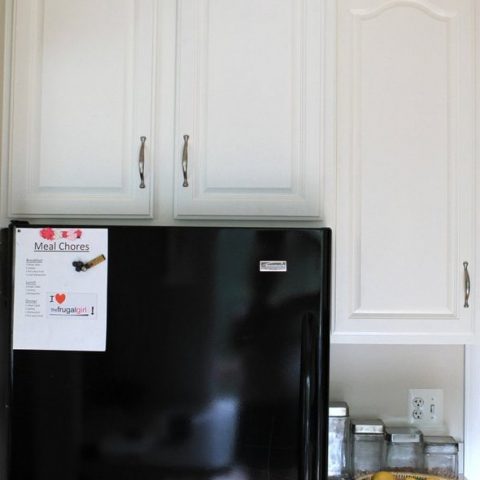
Before and afters of kitchen cabinet painting
I turned my pickled oak cabinets white with Benjamin Moore Advance paint.
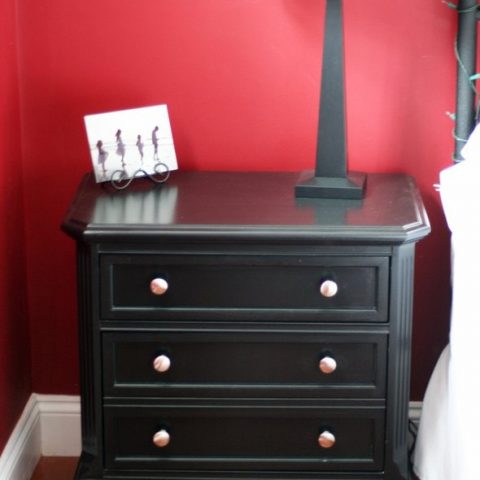
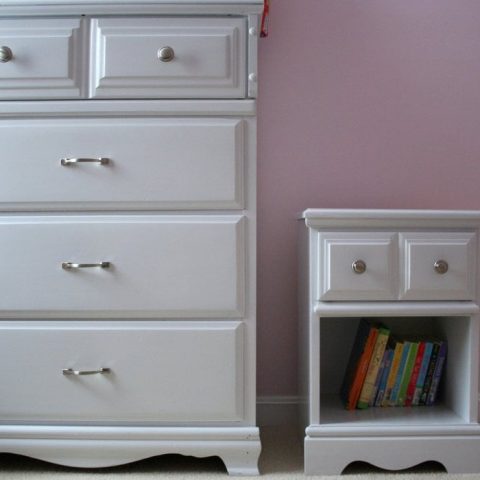
A duo of Goodwill nightstands
I painted a pair of nightstands from Goodwill to replace our old Ikea nightstands.
Before and afters of a tallboy dresser from Freecycle
This dresser was in really bad shape, but a coat of paint fixed it up very nicely.
A freecycle nightstand
It almost perfectly matches the freecycle dresser!
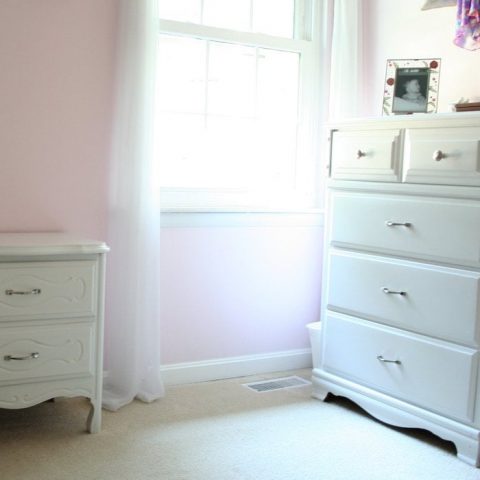
A freecycle dresser and nightstand
Here's my first foray into white furniture painting.
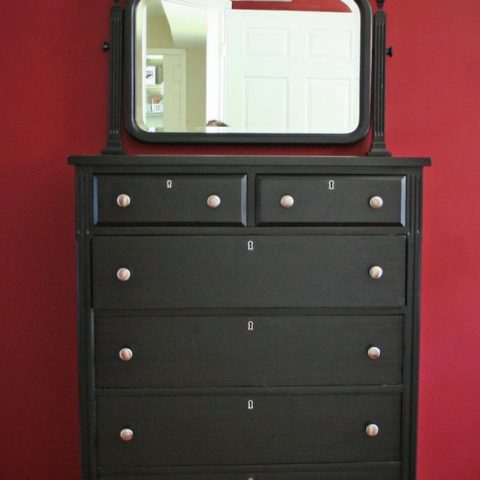
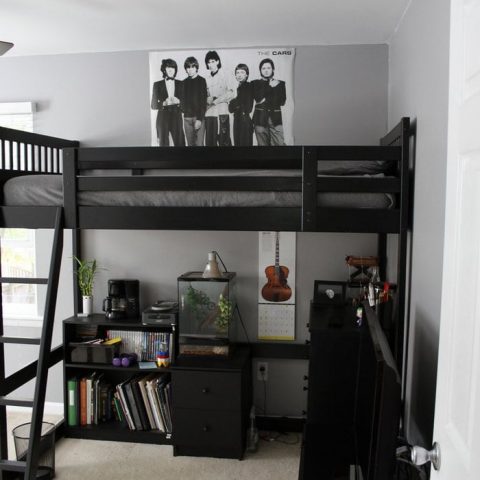
Black Ikea loft bed
I turned a walnut craigslist loft bed black.
Black hand-me-down bed
I fixed a terrible paint job from the past, when I had no idea what I was doing!


Danielle Zecher
Tuesday 9th of July 2019
You may have another post where you address this. If you do, can you please point me in that direction? I apologize in advance if this is a really dumb question. If you’re painting different shades of wood the same color will it all look the same when you’re finished? All of our bedroom furniture is a mismatched hodgepodge, trending toward much darker finishes. If I go with white, or some other pastel, will it all look the same? Also, it seems to rain every weekend, which is the only time I could do it. We have a carport. Is that adequate for the drying?
Kristen
Tuesday 9th of July 2019
Yep, it will all look the same once you paint it! If you check out some of the painting projects at the bottom of this post, you can see how I made several different pieces of furniture all white. And same goes for the black furniture I painted.
A carport is fine for drying, but you'd just want to keep an eye on the humidity levels. The can of paint you buy should tell you what humidity levels are acceptable; usually if it's something crazy like 92% humidity, that's not a good day to paint.
Jem Horwood
Monday 8th of July 2019
They look lovely! That's a nice long and busy life for those beds.
JD
Monday 8th of July 2019
I'm thinking I might be painting two beds in the near future. One is wood and one is an old-fashioned metal bed, which we found in a junk store years ago and is currently white. Yours look very nice now and it's great that your kids are learning the painting ropes. We bought some truly ugly but solid 1960's unmatched furniture for my daughter's college apartment bedroom (in the 2000's). With paint and new handles on the dresser and night stand, her roommates thought it was all so cute! Paint can do a lot, I tell you.
Kristen
Monday 8th of July 2019
Ooh, fun! I be your transformations will be great.
Did you spray paint the metal bed? I've always sprayed metal surfaces, but I brush/roll wood furniture.
Katy @ The Non-Consumer Advocate
Monday 8th of July 2019
They turned out so great, I'm inspired to haul out my painting supplies for a project or two!
Kris
Monday 8th of July 2019
Nice work! I love the pillow covers on Sonia's bed, especially the ones with the white background with the bicycle pattern on it. Where did you get them?
Kristen
Monday 8th of July 2019
Thank you! Sonia made those herself, with a friend of mine (the same friend who taught Sonia how to knit, actually. She's the one I visited in Ohio last summer: All about Ohio! (with eleventy pictures)