After I made Lisey’s pink Gap pants into cut-off shorts for her, I decided I wanted to make something out of the pant legs, since they were in fairly good shape below the ripped knee portions. I’ve made stuffed animal sleeping bags out of pant legs before, but this time I decided to make a honest-to-goodness bag (and since I had two pant-legs, I actually made two bags; one for Sonia and one for Lisey).
Since a pant leg is already the size and shape of a bag, this is a super-easy sewing project. And if you’re like me, you’ll find great satisfaction in making something useful out of what was essentially a rag.
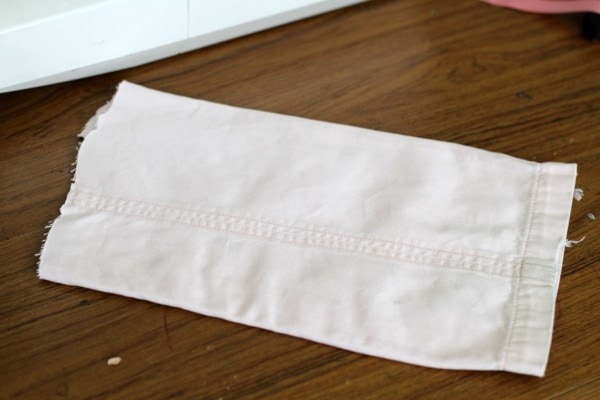
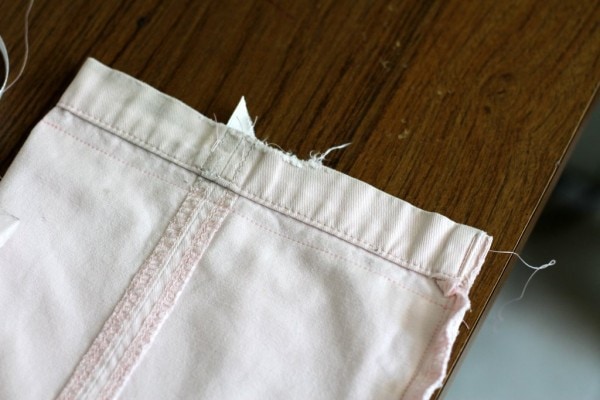
Here’s the pant leg I started with. I used a scissors to cut a straight line across the top of the pant leg, making sure to cut low enough to get rid of any ripped or worn parts (I did make the line straighter after I took this picture!).
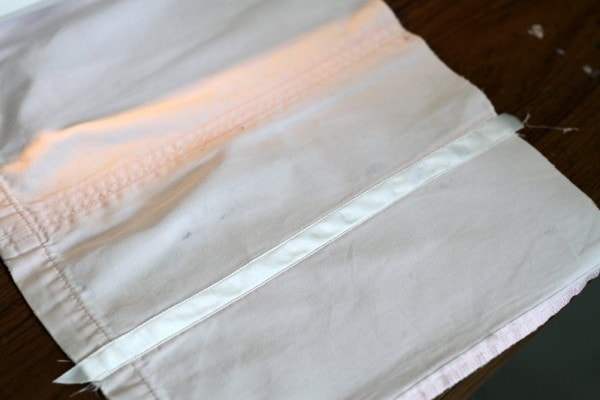
Because I wanted to dress these bags up a little bit, I decided to sew some ribbon over the double-stitched seam on the front of the bag. For the first bag, I did this without cutting the pant leg open. Be warned, though; this is sort of a pain in the booty. So for the second bag, I just used a scissors to cut the pant leg open right by the side seam.
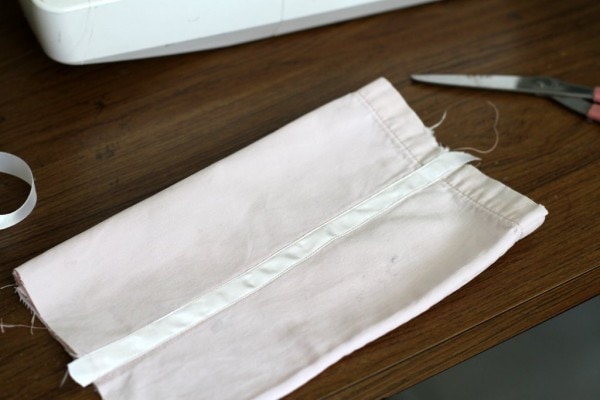
I then pinned the ribbon right over the seam and sewed a straight stitch down each side.
After that, I put the right sides together and re-sewed the side seam that I’d cut. After trying it both ways, I’d definitely recommend opening up the pant leg. It required an extra seam, yes, but the ribbon-sewing part was SO much easier.
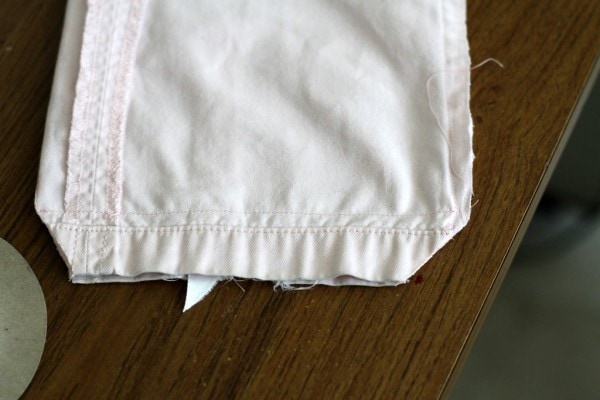
I then turned the bag inside out and sewed across the bottom of the pant leg. The cuff of these pants was pretty torn up, so I sewed above the hem. This also saved me from having to sew through the 4 thicknesses of fabric that make up the pant hem.
To make sure the corners turned out nicely, I used a scissors to cut a triangle off of each side of the bottom hem.
When I turned the bag inside out, I used the end of a pair of scissors to kind of push the corners out, as they’re a little bit stubborn.
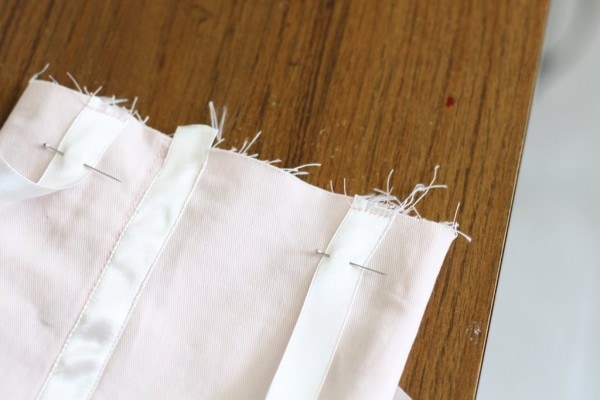
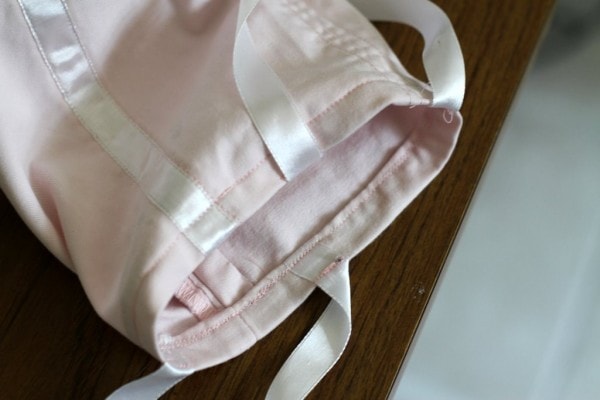
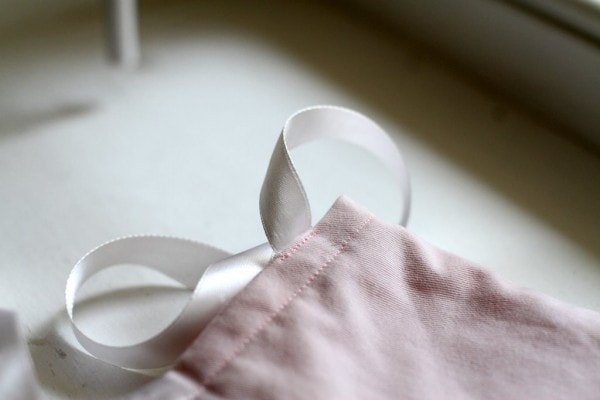
So, on to the top. I wanted to use matching ribbon for the handles, so I cut two pieces to the length I wanted. I then pinned each end of the ribbon to the bag (two in front, two in back). If you’re using ribbon that’s got a right and wrong side, you’ll want to pin these to the bag with the wrong side up.
To hold the ribbon in place, I sewed a small seam across the top of each ribbon piece.
Then I ironed the edge over towards the inside of the bag (maybe 1/8 of an inch) and sewed the edge down.
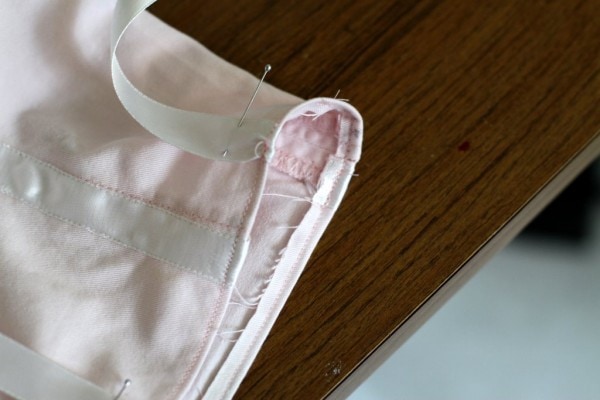
At this point, I almost screwed up by leaving the ribbons pinned down. So, remember to unpin them at this point and put them up into their handle position (I realize mine look wrong here, but I did pull them up!)
I ironed the top edge of your bag towards the inside of the bag (I did mine at about 5/8 of an inch, but really, however far you want to fold it over is fine!) and sewed it, making sure not to catch the ribbon handles in my seam.
This method produces an inside seam that doesn’t have any raw edges…even the ribbon handles are folder under the seam.
(I know my seam looks crooked inside the bag..that’s because I didn’t cut the top of the bag perfectly evenly, so I had to adjust my folded seam to make the top of the bag straight!).
To make sure that the ribbons stay put, I sewed a quick little seam over the ribbon at the 4 places where it attaches to the bag.
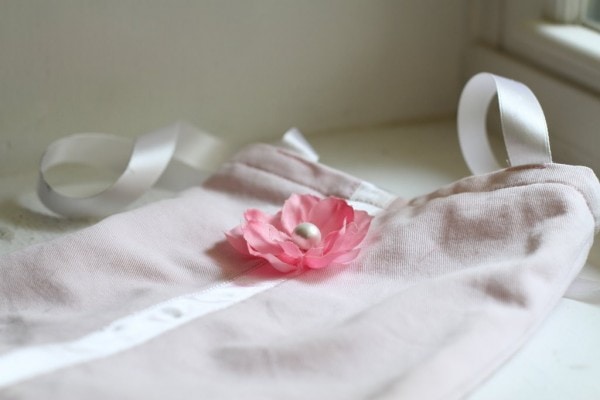
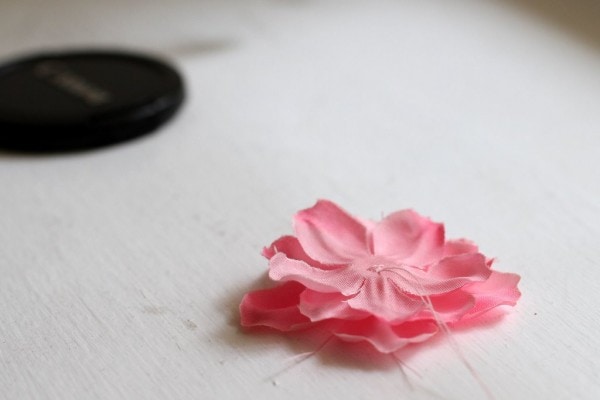
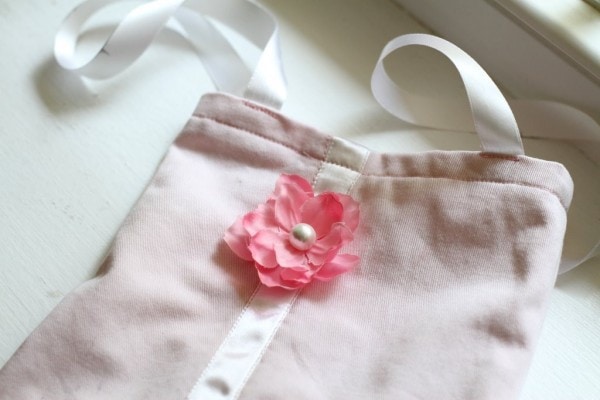
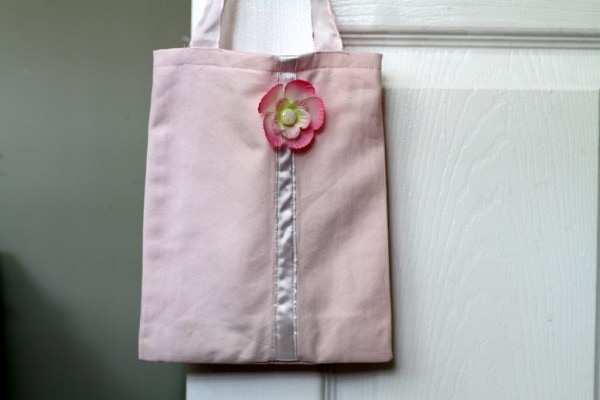
If you want, you can leave the bag as-is, or you can embellish it. I decided to put flowers on both of my bags. I rummaged around in my scrapbook drawer and found some fabric flowers. I hand-sewed several together to make a more 3-dimensional flower (you don’t have to be super neat about the sewing, because you’re going to cover it up later).
Then we chose a button from my button box to attach the flower to the bag and to serve as a cover for my hand-stitching.
Sonia’s bag is very similar except that she’s got pink ribbon handles (though they look white in the picture!) and her flower is a little bit different.
My girls are very pleased with these bags (Sonia especially, because she loves to put little things in bags and carry them around!), and Zoe is anxiously waiting for me to cut up another pair of pants so that she can have a bag too. 😉
Today’s 365 post: Old and New (or rather, New and Old)

Jo@simplybeingmum
Friday 11th of May 2012
We've just become proud owners of a mini sewing machine! I have a few pairs of trousers that are too short on the kids, that I'm going to make into shorts - great idea for getting some practise in with the Kids on the new machine!...
Brie Wallace
Thursday 12th of August 2010
Great idea! I love reusing things like that. The purse is really cute and will match her cutoffs. :)
Alice
Wednesday 11th of August 2010
How sweet!
JenC
Wednesday 11th of August 2010
Love...love ...love this!! Very cute!
Tara
Tuesday 10th of August 2010
Adorable!